A Simple Crochet Project to Start the Year
My first crochet project of 2026 wasn’t a new design, a fresh skein, or a long stretch of uninterrupted stitching.
It was a pom pom repair.
Yep. Just a pom pom.
And it turned out to be exactly what I needed to kick off the year.
When a Crochet Pom Pom Needs Fixing (Thanks, Dog 🐶)
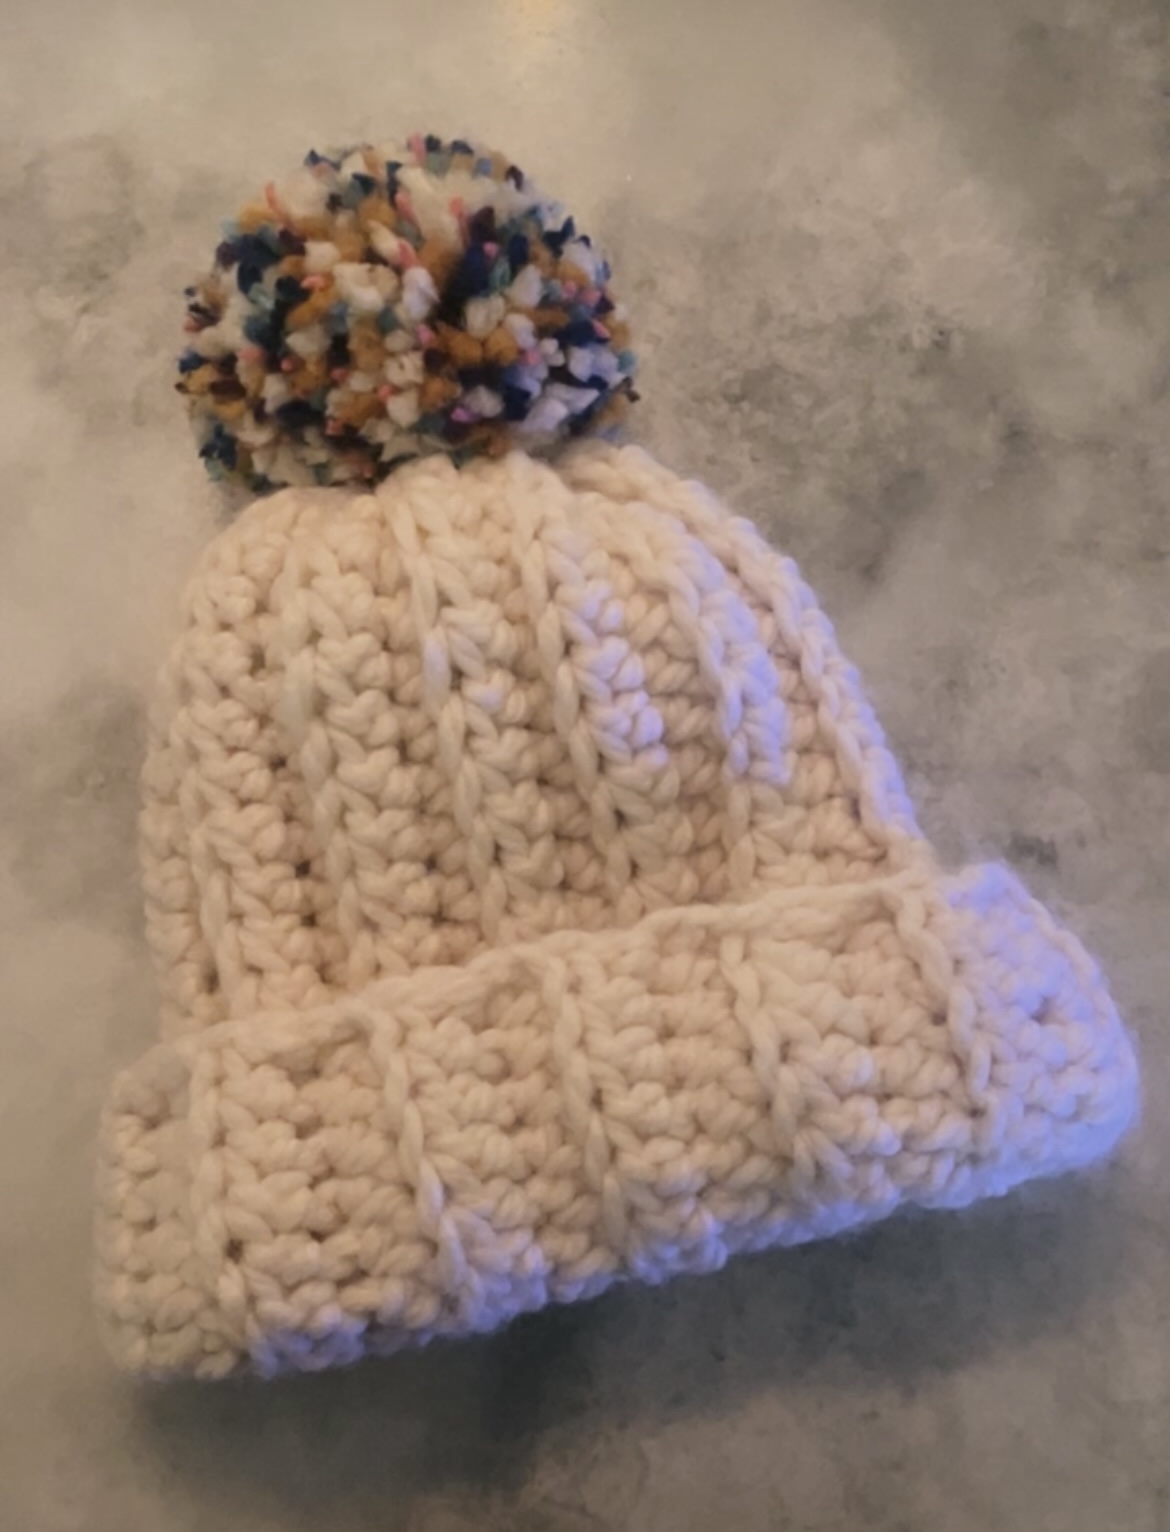
A friend dropped off her hat I made her last winter. The hat itself was perfectly intact, but the pom pom? Not so much. Her dog had chewed it until only a few sad strands remained — Linus-from-Charlie Brown style.

Luckily, pom poms are easy to replace.
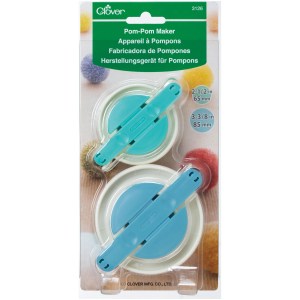
I trimmed off what was left and made a fresh one with Clover’s blue pom pom maker (bottom one in the photo below). Typically you add a pom pom while making a hat and use a long tail from the hat to attach the pom pom. But when you’re adding one after a hat is finished, the process is a little different.
How to Attach a Pom Pom Without Yarn Ends
Here’s the step-by-step:
- With the hat right side out, set the pom pom in place at the top.
- Thread one pom pom tail (meaning one of the long strands I hold in the below video after I take the pom pom out of the maker) onto a yarn needle.
- Insert the needle down through the top of the hat, just slightly off to one side of the center hole.
- Repeat with the second pom pom tail on the opposite side.
- On the inside of the hat, tie the two strands together with a couple of secure knots.
- Thread both strands back onto the needle together.
- Take the needle across the center hole and up the opposite side — close to the hole, but not through it.
- Bring the needle up through the center of the pom pom, across it, and back down through the center again.
- Insert the needle back into the hat near the top hole.
- Knot the tails together a couple of times. You can repeat the process (go across the hat hole, back up through the pom pom, over, down through the center of the pom pom, and back down into the inside of the hat) if your pom pom feels loose at all, but for the hat in this video, I only did it once.
- Weave in the tail ends on the inside of the hat so they are hidden and secure.
This anchors the pom firmly and keeps it sitting right where it should.
If you want to see a visual walk-through that closely matches this process, check out this video.
What Yarn I Use for a Full Pom Pom
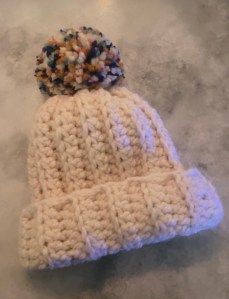
This pom pom has a nice weight, density, and look to it because of the mix of yarn weights and colors I used:
- Off-White (Lion Brand Wool-Ease Thick & Quick in Fisherman) — size 6 Super Bulky yarn, same yarn as the hat
- Yellow (Lion Brand Wool-Ease Thick & Quick in Mustard) — size 6 yarn
- Light Aqua — size 5 yarn
- Cobalt — size 5 yarn
- Pink — size 5 yarn
- Purple — size 5 yarn
I like mixing yarn weights when I make pom poms, and I always anchor the pom in the same yarn the hat is made from.
For the pom pom shown above, I used two strands of the foundational color (the off-white yarn), plus one strand of each of the five accent colors. Using more of the base color helps everything feel consistent and intentional, even when the other colors are pulled straight from my yarn stash.
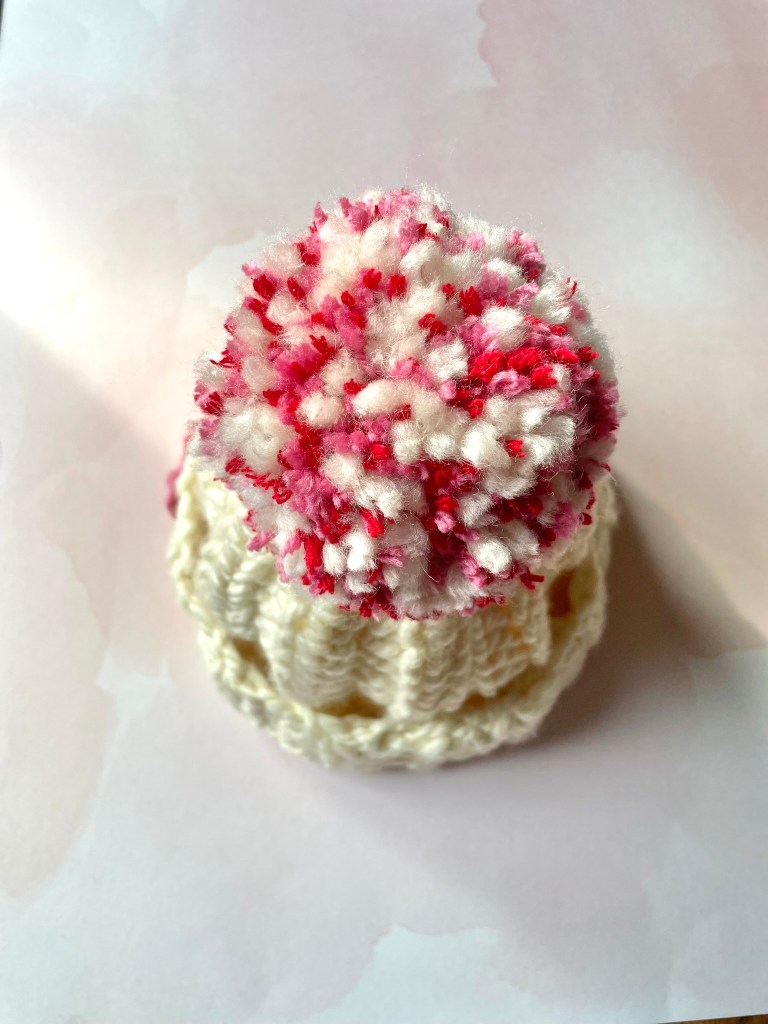
For my Valentine’s Day hat on the left below, I used one strand of size 6 off-white yarn, one strand of size 4 (or worsted weight) red, and one strand of size 4 pink.
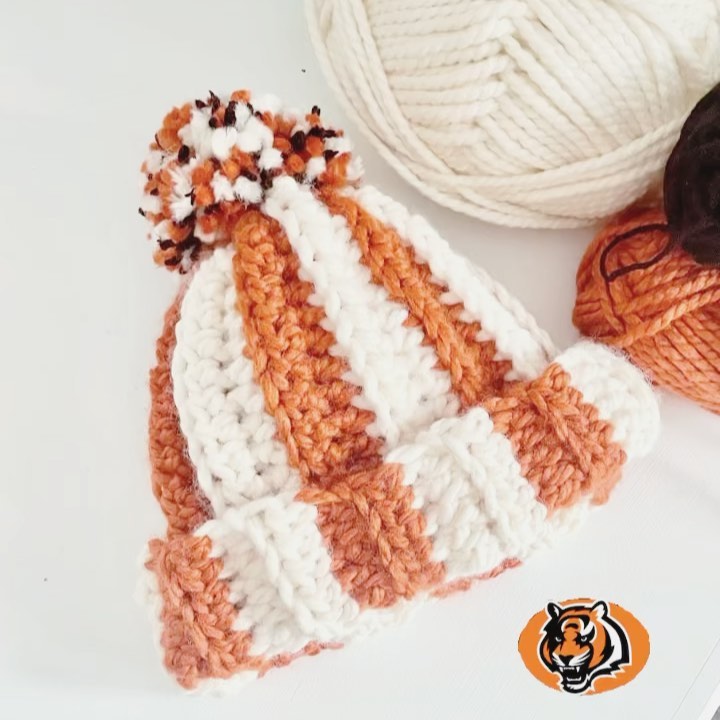
For the hat on the right, I used one strand of size 6 off-white, one strand of size 6 orange, and one strand of size 4 black.
Simple Hat Options If You Want to Make One
If you’d like to make this hat yourself, here are a couple ways you can one:
1. Use this striped hat pattern from my Etsy page:
https://www.etsy.com/listing/1449256294/bengals-crochet-hat-pattern-orange-white
Just don’t switch yarns when the pattern says to — keep it simple and stick to one color. I like Lion Brand Wool-Ease Thick & Quick in Fisherman.
2. Crochet a rectangle:
- Crochet a rectangle 20–22 inches wide (to fit around the head) by 11 inches tall in your favorite stitch.
- Thread a yarn needle with your tail and seam up the side with the hat wrong side out.
- Once at the top, run your needle through every other stitch along one long edge.
- Pull tight to close the top and secure.
- Turn right side out and add the pom pom.
- Fold the brim up and you’re done!
What I’m Crocheting Next
This little pom pom fix whet my appetite for winter hats. I’ve been inspired by rhinestones lately, so I picked up a couple packs from Michaels and Loops & Threads yarn to pair with them. I’m excited to share more once I get started!

Follow along with me on Instagram, and sign up on my homepage to have my new blog posts sent straight to your inbox.
Lastly, Happy New Year. I can’t wait to see what the year brings!

One thought on “How to Fix a Crochet Hat Pom Pom (Easy Pom Pom Repair Tutorial)”