By Nicki Byrnes
January 21, 2026
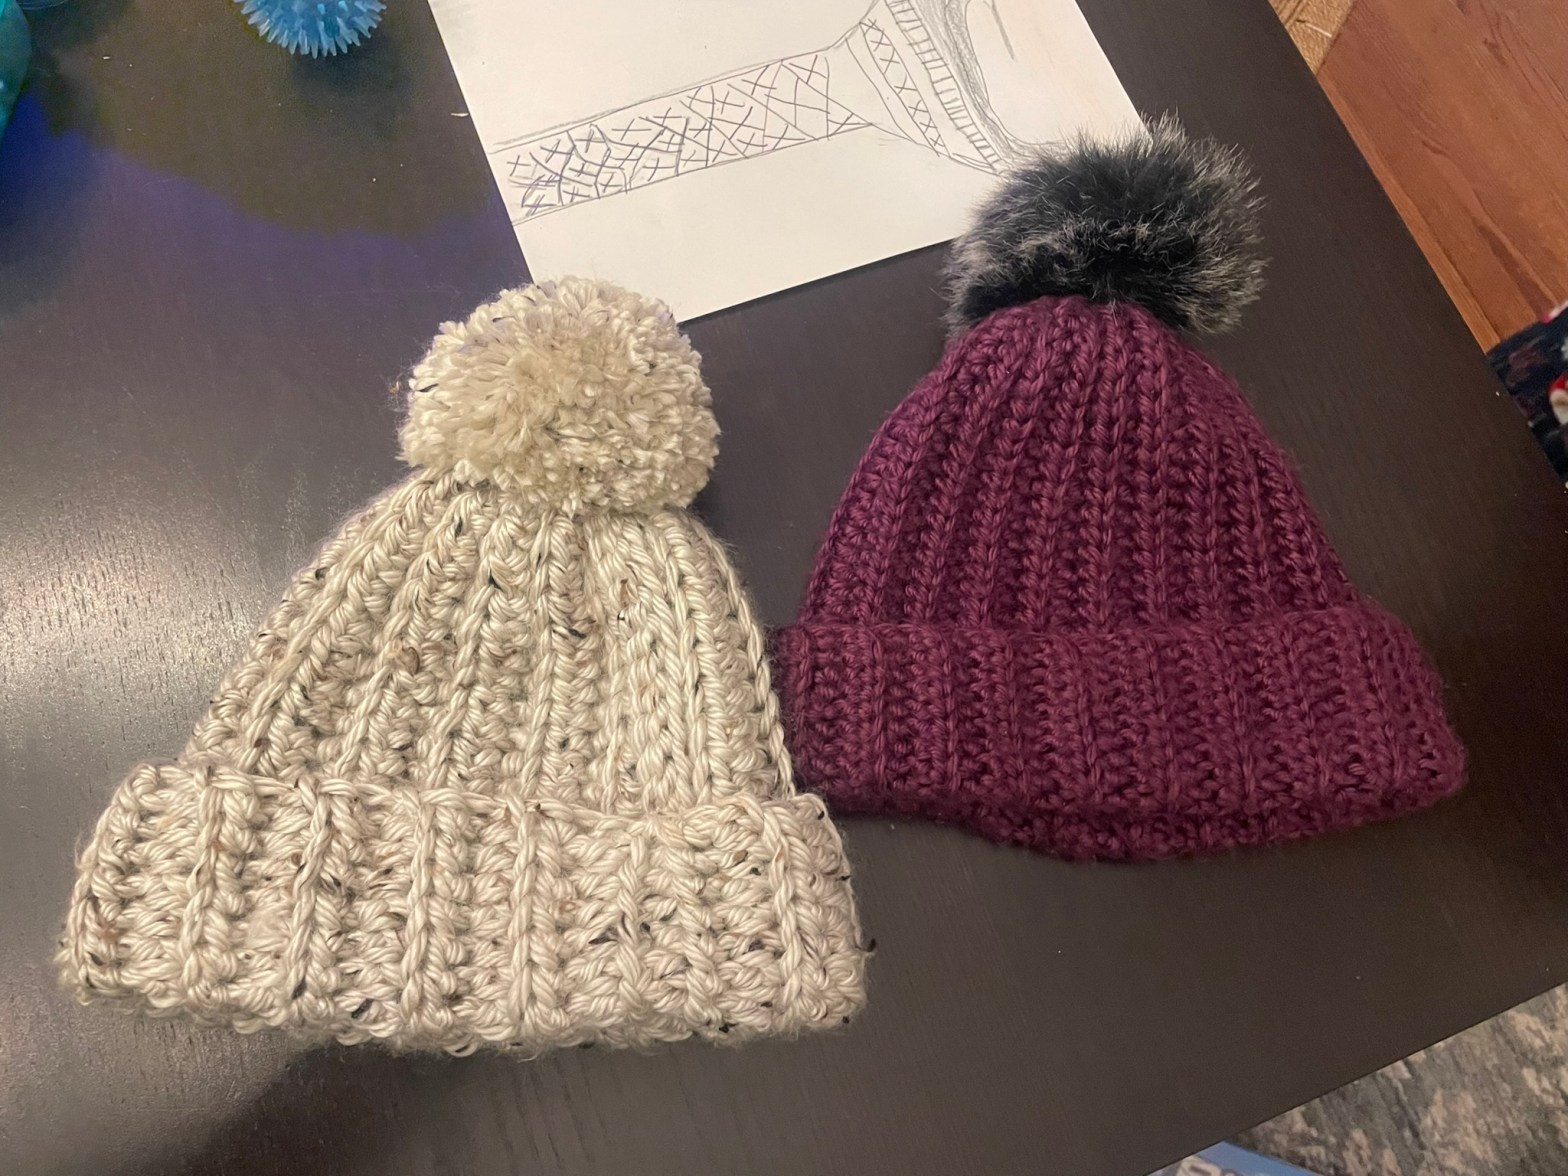
This project started with a finished hat and a simple question: can I remake this without a pattern and in a new yarn?
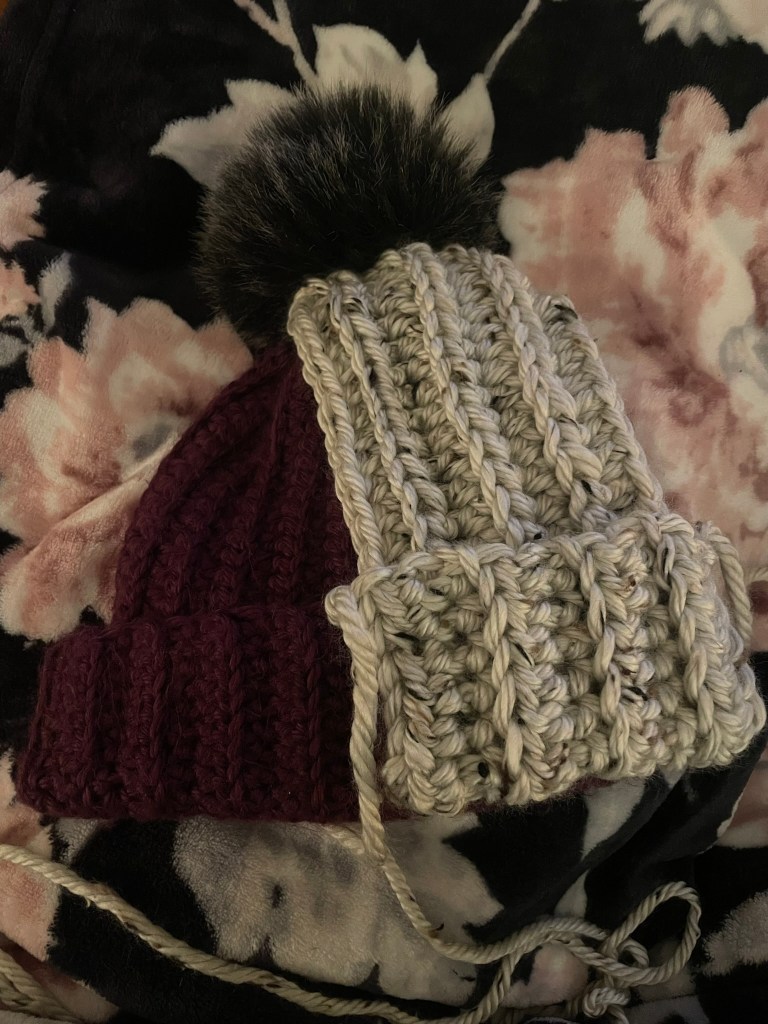
Years ago, I crocheted my friend the purple hat below for her January birthday. She’d mentioned that hats are always too loose on her head, so I made her one on the smaller side of average in one of my favorite yarns (that sadly doesn’t exist anymore!). The average adult head circumference is about 20–22 inches, so I made it 20″ around, once slightly stretched.
The hat fit perfectly and she wears it every winter. I can confirm this as her neighbor!
Same Fit, Different Yarn
This year, she asked for a second hat in the same size. She chos Lion Brand Hometown yarn in Aspen Tweed from Michaels. It’s super soft and has a slight sheen to it.
The original hat was made with a size 5 bulky yarn and Hometown is a size 6 super bulky, so I knew I’d have to make some adjustments to the stitch and row count of the original design in order to get a hat the same size. But I knew it’d be an easy challenge.
Using the Hat as the Guide
To make this hat (or should I say remake), I could have looked up a pattern. Or, I could have counted the stitches and rows of the original, made a swatch with the new yarn, and used that to calculate how many stitches and rows the new hat would need to be to match the original hat’s size. Instead, I used the original hat as my guide.
This hat design is just a rectangle seamed together. To determine the foundation row length (or stitch count), I matched the original hat from the top (under the pom pom) to the bottom of the brim (unfolded). I started with a slightly longer foundation row, knowing it would tighten as rows were added. I chose to go down one hook size from the yarn label recommendation to get a tighter fabric since it’s a winter hat – warmth and a cozy fit are top priority.
I continued to work rows in a simple two-row repeat:
- Half double crochet
- Half double slip stitch
Once I had a rectangle that measured about 11″ x 17″-18″ (which was 20″ gently stretched), my crochet work was done.
Planning for Stretch
A note about stretch – because the hat was constructed as a rectangle and then seamed, I didn’t crochet a piece that measured 20 inches flat. That would be too big on the head. I made a rectangle closer to 17-18″ wide so it was 20″ once slightly stretched and a snug fit. This is called ease.
In crochet, ease is the difference between your measurements and the finished piece. It’s what controls how a hat, sweater, or any garment fits. Positive ease gives a roomier fit (think cozy sweaters), negative ease makes things snug (like socks or a fitted hat), and zero ease hits the measurement exactly. The Craft Yarn Council breaks this down with terms like “close-fitting,” “standard,” “loose,” and “oversized,” showing how many inches to add or subtract for the look and comfort you want.
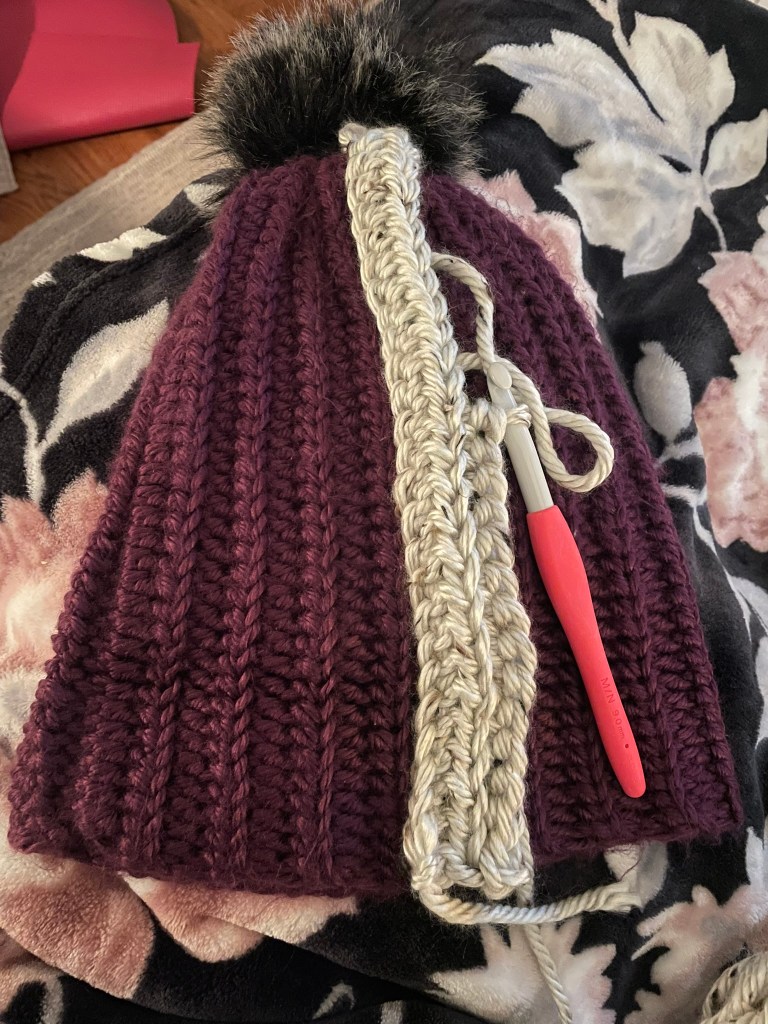
Seaming and Finishing
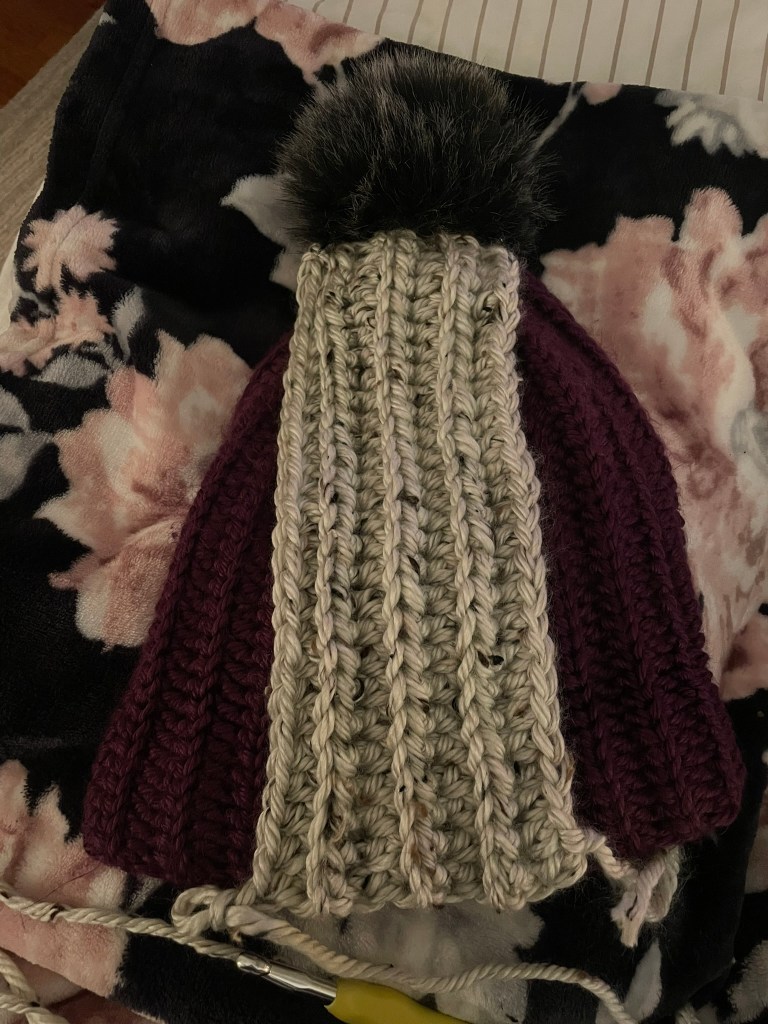
With my rectangle height and width reached, it was time to sew it closed. With the wrong side facing out (meaning what will be the inside of the hat), I seamed the hat sides together with a yarn needle and mattress stitches through the back loops (the ones furthest from you) of corresponding stitches.
The end of the row is the top of the hat, so I ran my yarn needle through every other stitch along one long edge. I pulled the hole closed and secured it, turned the hat right side out, and added a pom pom.
The original purple hat had a faux fur pom pom, but I gave this one a yarn pom pom. I like dense, full yarn pom poms that match the hat. You can read how I create these textured pom poms and the tool I use to make them in my blog post, How to Fix a Crochet Hat Pom Pom.
The last step was to weave in all ends, trim them, and fold the brim up!
Why This Approach Works
This wasn’t about digging up an old pattern or finding a new one to replicate the original hat. Patterns are useful, but sometimes the best blueprint is a piece you’ve already made.
This project was about understanding hat construction (a basic rectangle seamed together), ease (called negative ease to create the snug fit), sizing (nailing a finished fit that’s on the small end of average), and adjusting stitch and row counts for a different yarn weight (the original was a size 5 bulky yarn and the new hat was a size 6 super bulky yarn).
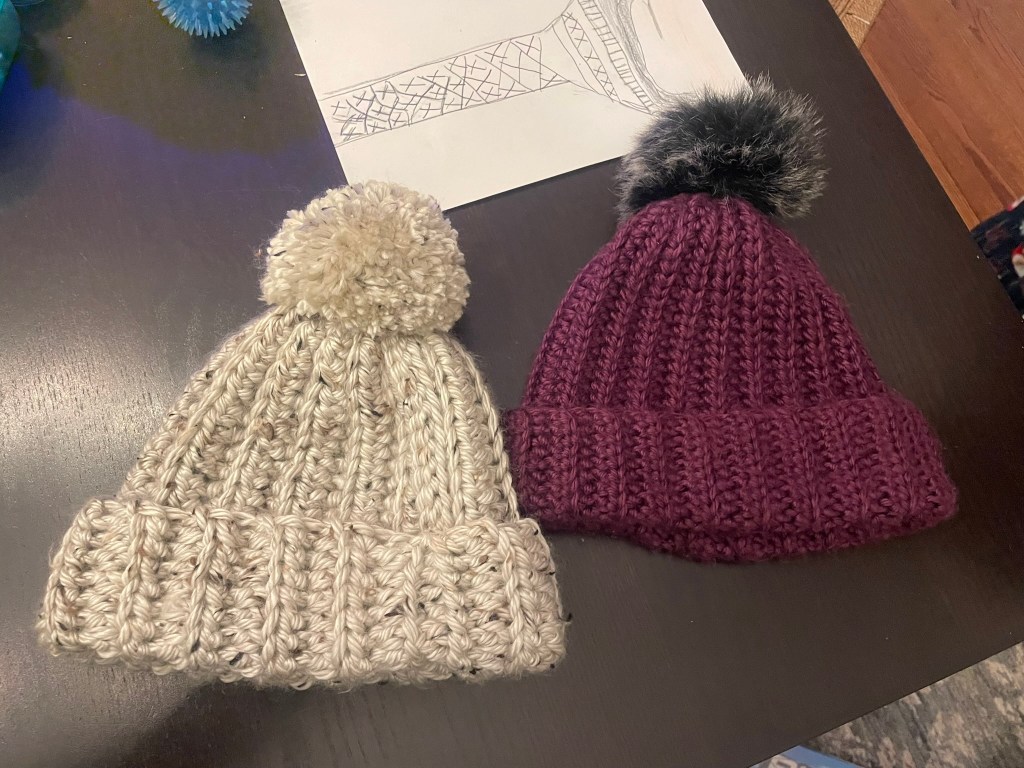
You can see the finished hat below and take a walk with me to deliver it to my friend’s porch in this video on Instagram. She loves it! And with it being her birthday month + freezing temperatures this week, the timing worked out well.

Tell me: Do you have a go-to crochet pattern that you love to make, and make again?
