The beginner project that will make every future crochet project easier
By Nicki Byrnes
February 17, 2026
I had the best time teaching two women how to crochet this weekend—they were fun, curious, and ready to finally figure the craft out.
One had tried those cute Woobles kits. One had tried learning from YouTube.
And both had given up, frustrated.
That’s incredibly common. The Woobles kits are adorable and get people excited about crochet, but they’re worked in the round. Crocheting in the round is not the easiest way to learn foundational skills. Amigurumi can come later—after your hands and brain understand the basics.
And YouTube is an amazing resource, but it can be confusing when you’re brand new. I know from experience it’s hard to navigate and can create bad habits. That’s what led me to take the Craft Yarn Council Crochet Instructor certification, and share what I learned about how to learn crochet in a way that’s clear, supportive, and sets beginners up for success.
The Unsexy First Project That Will Make You a Better Crocheter
One of the most important things I’ve learned from teaching people how to crochet came from experience. And I was reminded of it while teaching my two most recent students. I always recommend the same first project: a single crochet scarf.
It doesn’t feel overly exciting to some people who are ready to dive in and make their first crochet piece, but nothing builds foundational crochet skills like row after row of single crochet.
When you make a single crochet scarf, you’re practicing—and mastering—how to:
- Hold your yarn and hook correctly
- Work the steps of a single crochet stitch until they’re automatic
- Crochet with consistent tension
- Identify and count stitches accurately
- Turn your work and begin new rows
- Create clean, straight edges instead of wonky sides
It’s repetitive on purpose. And that repetition is what makes everything else easier later.
Once single crochet clicks, the next stitches like half double crochet, double crochet, and treble crochet, make so much more sense. Same goes for new stitches like moss stitch or griddle stitch. They’re all variations on the same foundation.
If you can’t commit to a scarf, a dishcloth is a decent alternative. But I can’t recommend a scarf enough. The time you invest will pay off for the rest of your crochet life. You can give it away or keep it forever, reflecting back on your first piece.
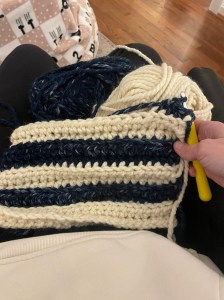
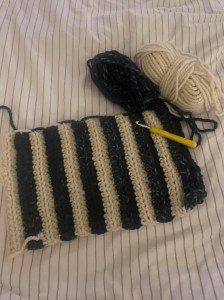
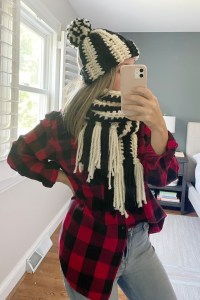
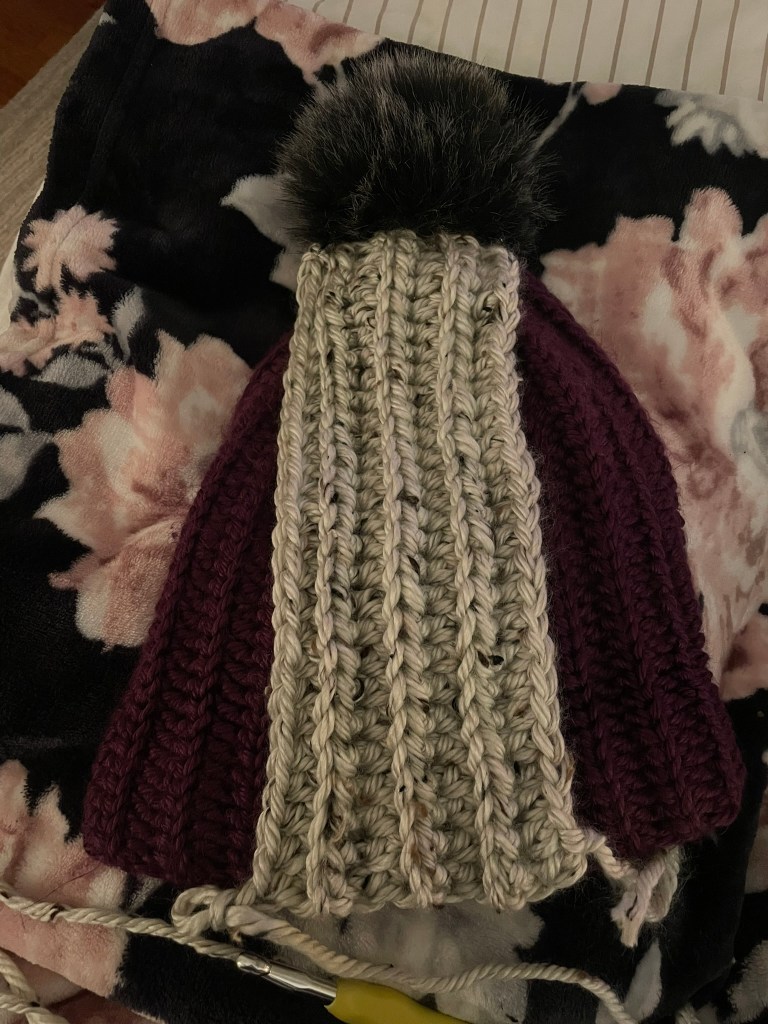
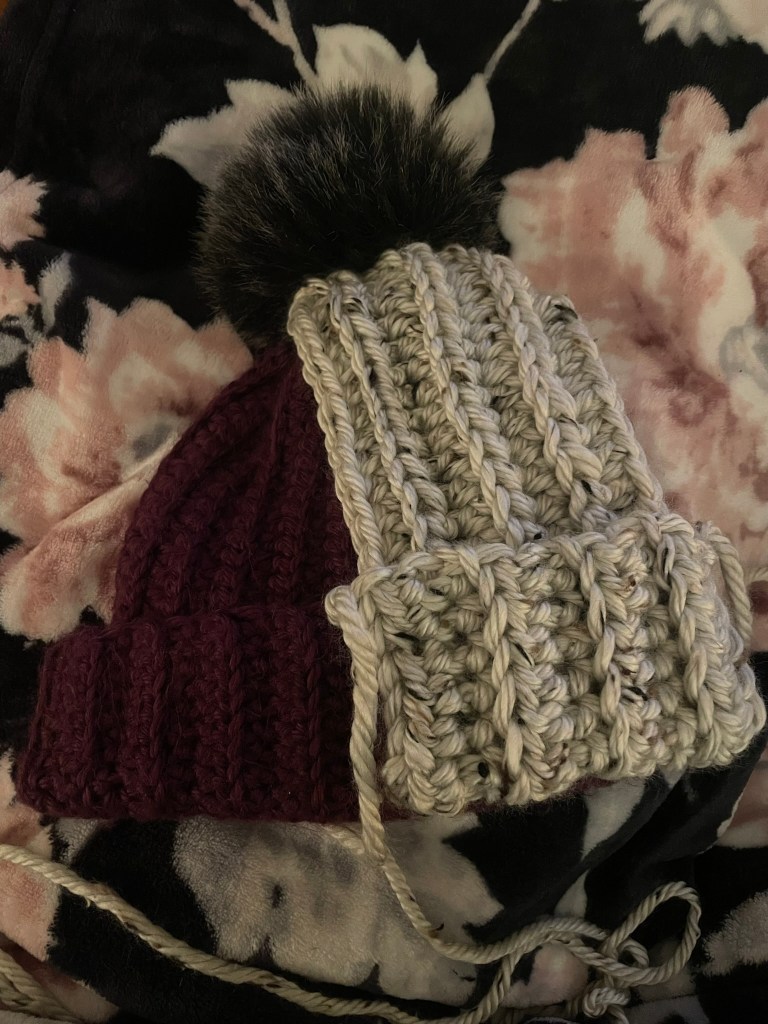
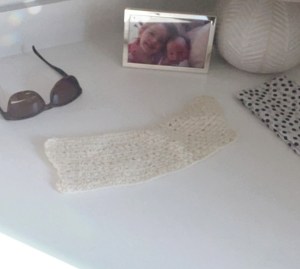
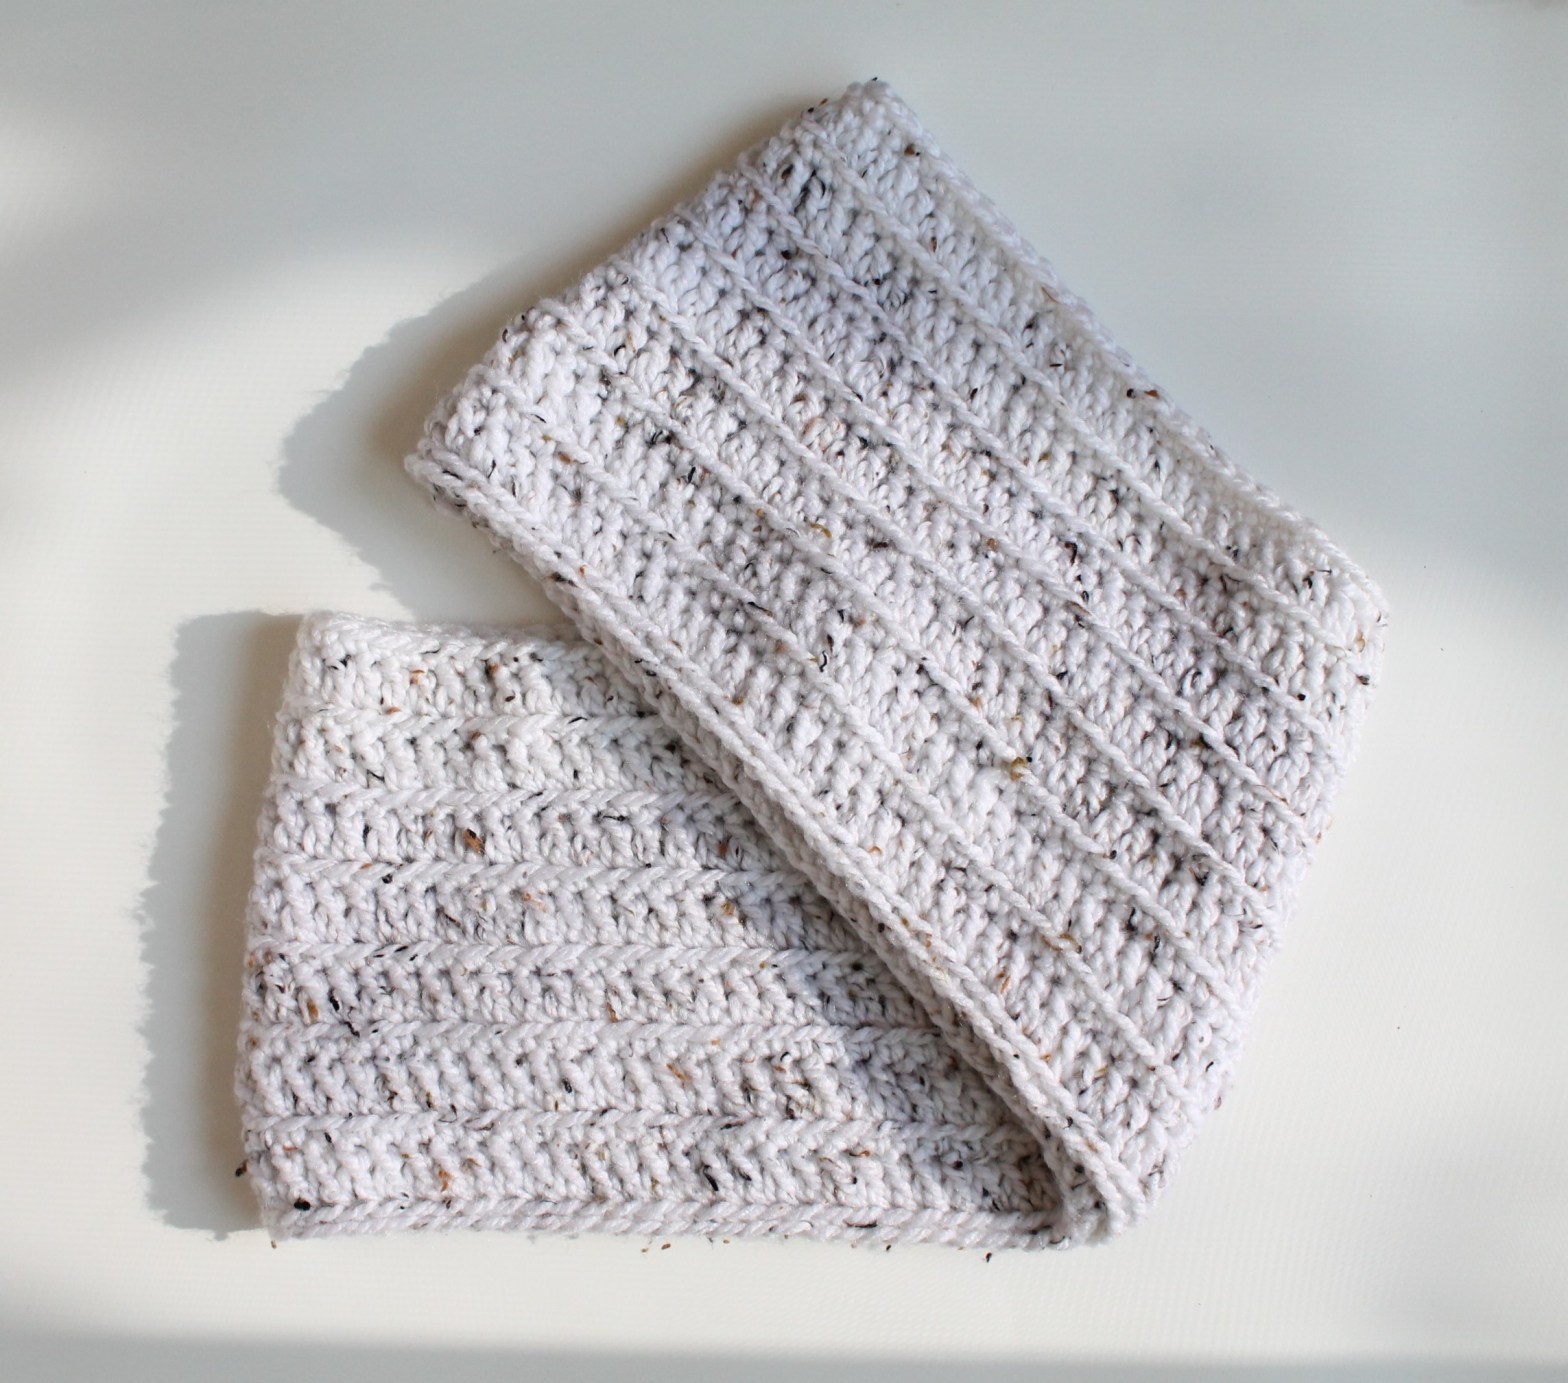
I still have mine, shown below. I had a ball of gray yarn and started single crocheting, row after row, because I found the repetition satisfying. Somewhere along the way, I realized I wasn’t thinking as hard about what I was doing and had fallen into a natural rhythm. Not only that, but my stitches were all similar sizes, meaning I had mastered a consistent tension.
When I ran out of gray yarn, I watched a video on how to join new yarn and added some scrap blue yarn to the ends. You can see a big dip in the blue section where I wasn’t counting my stitches at the end of each row and got off-count. That’s what causes those wonky edges. Tsk, tsk.
But this is all part of the learning process. You can see I did learn from that mistake—I counted my stitches on the other blue end, and the edge is much straighter. This is why I suggest all my students do the same. It’s guaranteed to set them up for crochet success.

A Beginner-Friendly Single Crochet Scarf Pattern
So back to the point of this blog post: after my crochet lesson this weekend, I thought it would be helpful to share a simple beginner scarf pattern for those who are ready to implement their newly learned crochet skills, anyone looking for the ideal first project, or those with a basic knowledge but need some finesse. Once students complete steps 2–5 of my beginner tutorials, this scarf is the next step.
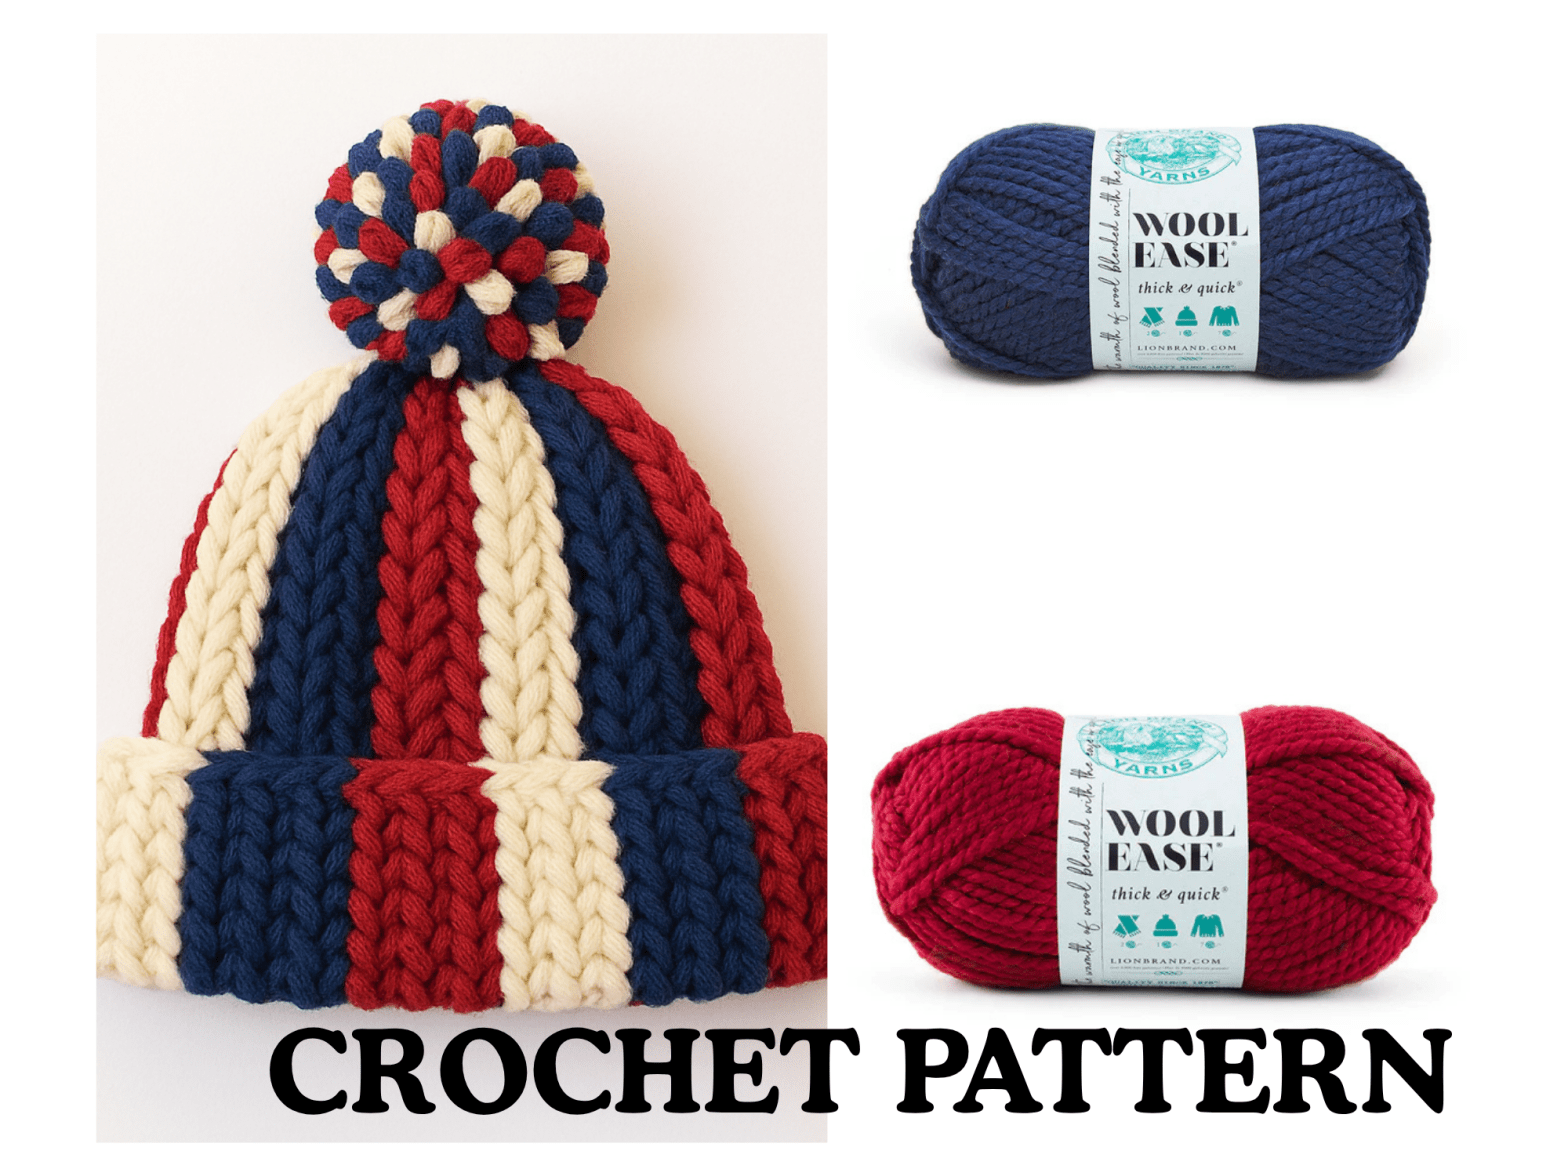
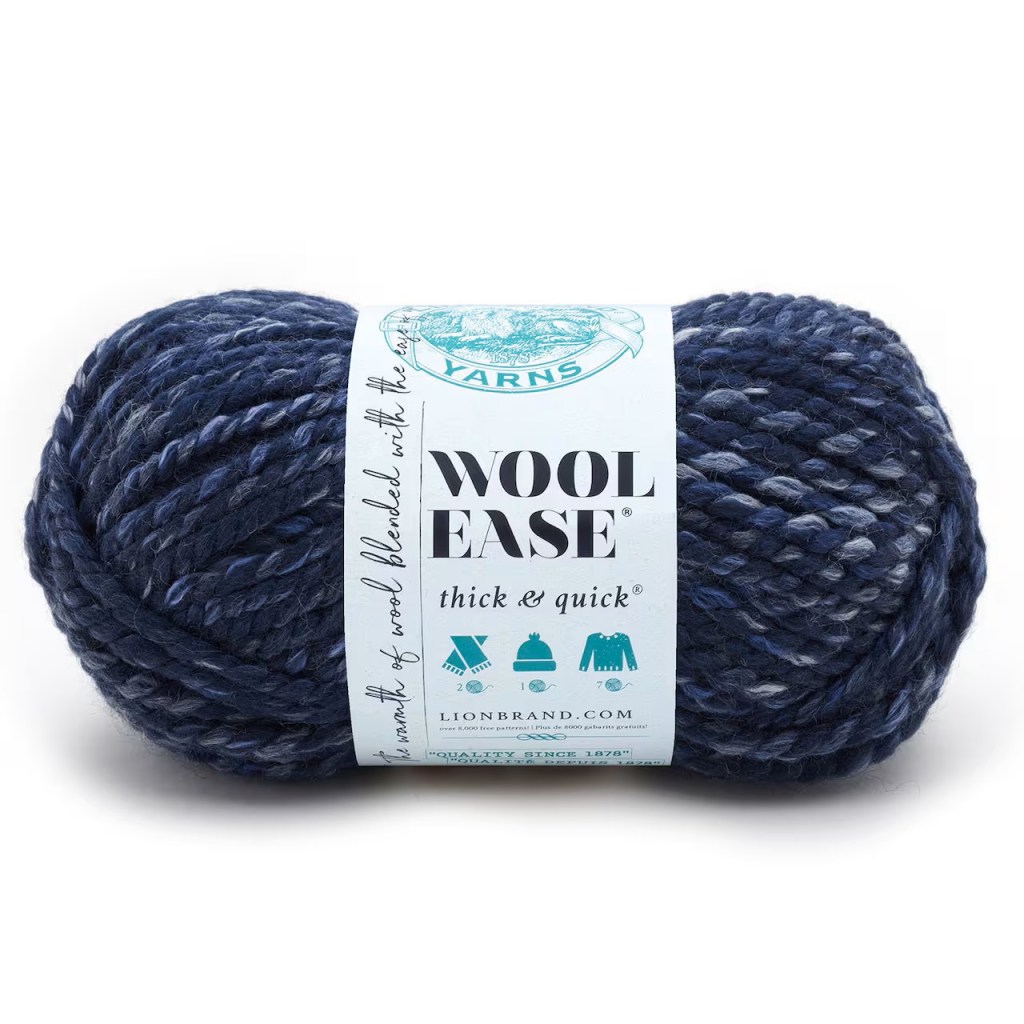
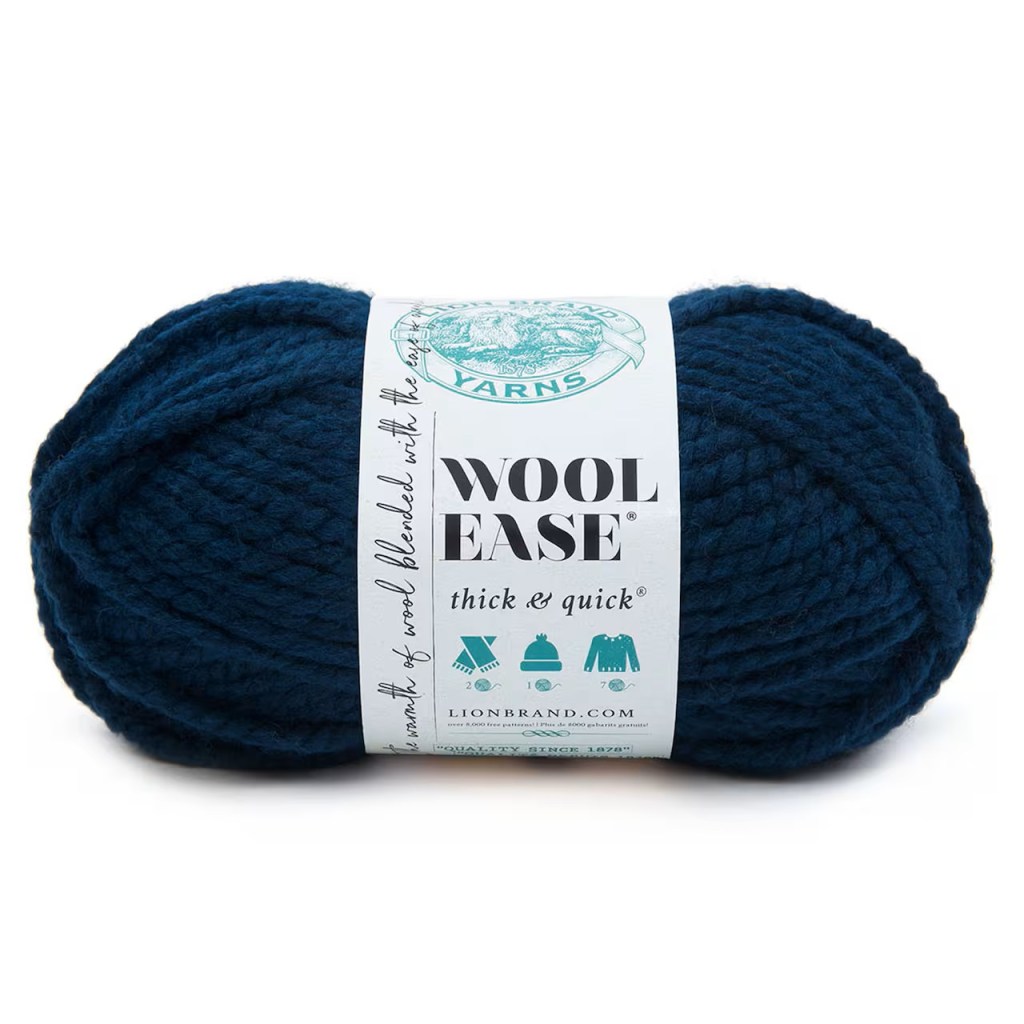
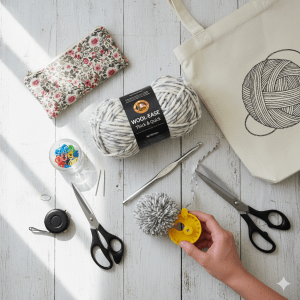
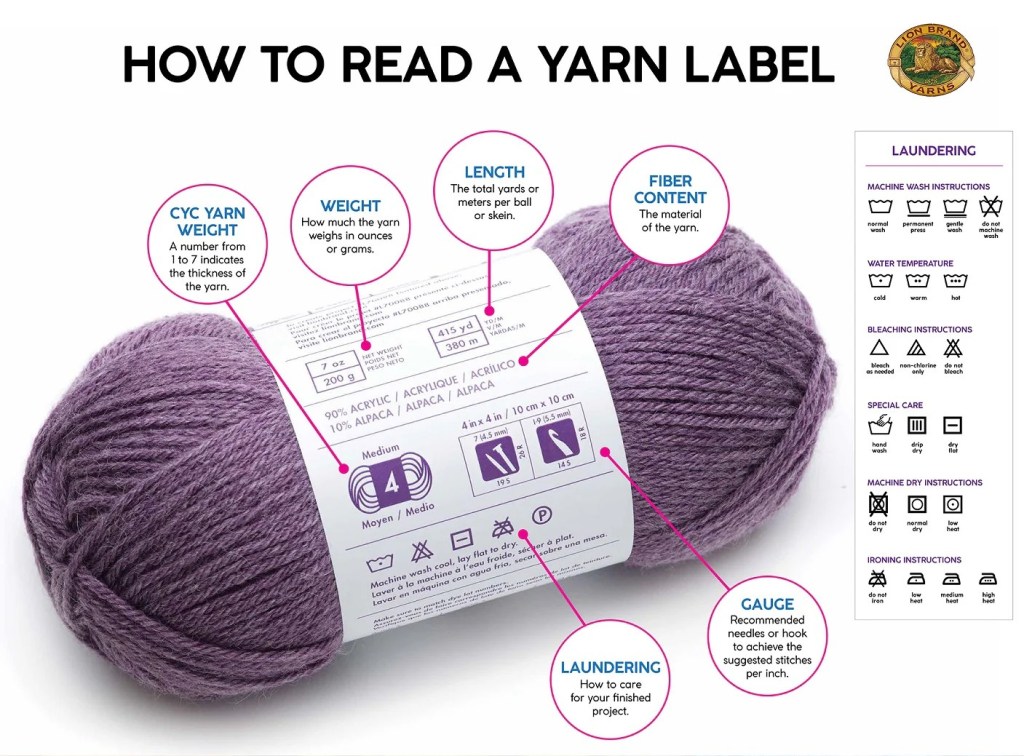
I like this simple pattern from Easy Crochet that uses Lion Brand Wool-Ease Thick & Quick. Chunky yarn makes this project feel quick, and some beginners find bulky yarn easier to handle.
That said, the Craft Yarn Council recommends beginners start with worsted weight (medium, size 4) yarn, and I recommend it as well for your first project. The steps for the pattern are the same—you’ll just need more stitches and more rows than the chunky pattern because the yarn is thinner. I’m sharing the pattern for worsted weight yarn below.
I will not go into detail about gauge or exact finished dimensions in this pattern. They’re not overly important for this project because the goal isn’t perfection—it’s repetition. This scarf is about practicing single crochet over and over to build muscle memory, develop consistent tension, and find your natural rhythm. There will be plenty of time later to learn the intricacies of crochet patterns.
Standard Scarf Sizing
Just for your reference, here are the approximate dimensions you should aim for in a crochet scarf.
- Adult scarves:
- Width: 6–8 inches (15–20 cm)
- Length: 60–70 inches (152–178 cm), or roughly your arm span/height
- Children’s scarves:
- Width: 3–4 inches
- Length: 36–44 inches
Ok, on to the good stuff. Here is the pattern:
Beginner Single Crochet Scarf Pattern (Worsted Weight Yarn)
Materials
- Worsted weight (medium, size 4) yarn
- US H/8 (5.00 mm) crochet hook (or hook size as listed on yarn label)
- Scissors
- Measuring tape
- Yarn needle
Abbreviations
- ch = chain
- sc = single crochet
- st(s) = stitch(es)
Size
- Finished size: Approx. 6.5” wide x 65” long (adjust as you like)
Pattern
Foundation Row: Ch 25.
Row 1: Sc in the second ch from the hook and in each ch across. (24 sts)
Row 2: Ch 1, turn. Sc in the first st (not the ch-1), then sc in each st across. (24 sts)
Rows 3–end: Repeat Row 2 until your scarf reaches 60–70 inches (or your desired length).
Finish: Fasten off, cut yarn, and weave in ends with a yarn needle.
Bonus Skills You’ll Learn Along the Way
Joining Yarn
When you run out of yarn, you’ll learn how to join a new skein—another essential crochet skill. You do this by completing all the steps of your stitch except the final yarn over and pull-through. At that point, loop the new yarn onto your hook and finish the stitch with the new yarn. Here’s a helpful video on adding new yarn (start around 1:00).
Counting Stitches
To get those clean, straight edges everyone wants, you’ll need to count your stitches at the end of each row. This is one of those habits that feels tedious at first but pays off immediately. Counting stitches helps you understand where the last stitch actually is (and where the turning chain from the previous row begins), which is a super common point of confusion for beginners.
When you force yourself to count, you start to understand what a stitch looks like, exactly when to turn, and how to keep every row the same length—no widening, no narrowing, no wonky edges. Consistent stitch counts are one of the biggest factors in keeping your crochet straight and evenly shaped, especially in beginner projects like scarves.
Counting every row might feel annoying at first—you just want to keep going after all—but it’s worth it. Your edges will go from chaotic to crisp, and your tension will even out as your hands find their rhythm.
Reading a Pattern
This is a super simple pattern—and that’s exactly the point. Crochet patterns can feel intimidating at first, like they’re written in a second language. This one is intentionally straightforward so you can see that the abbreviations are logical, understand the general structure and flow of a pattern, and practice following written instructions without feeling overwhelmed.
Finishing
Once you reach your desired length, you will need to fasten off and weave in your ends. This is how you finish a crochet piece. To fasten off, once you compete your final stitch, cut the yarn attached to your hook so it has a tail of about 6″. Follow the steps like you’re making a chain (yarn over, pull through) and keep pulling your hook up so the yarn goes all the way through that chain. That’s it.
As for weaving in that tail (and the extra ends from joining a new skein), this is also a simple finishing step. Thread the yarn tail onto a tapestry or yarn needle and weave it under the top layer of stitches on the WRONG side (the back side) of your scarf. One easy way to identify the RIGHT side is that the tail from your foundation row will be on the left when you’re facing the scarf.
Weave the yarn in one direction for about an inch, then change direction and weave for another inch. Repeat once more—either in a new direction or back in the original direction. This zig-zagging helps lock the tail in place so it doesn’t pop out later.
Give the yarn a gentle tug, trim the excess, and it will retract into the fabric and be hidden.
Put on a show you can mostly listen to, an audiobook, or call a friend. You’ll be surprised how quickly things click.
Your Crochet Journey Starts With Repetition
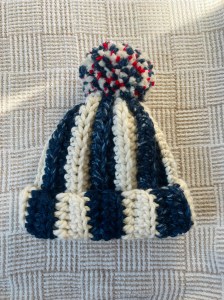
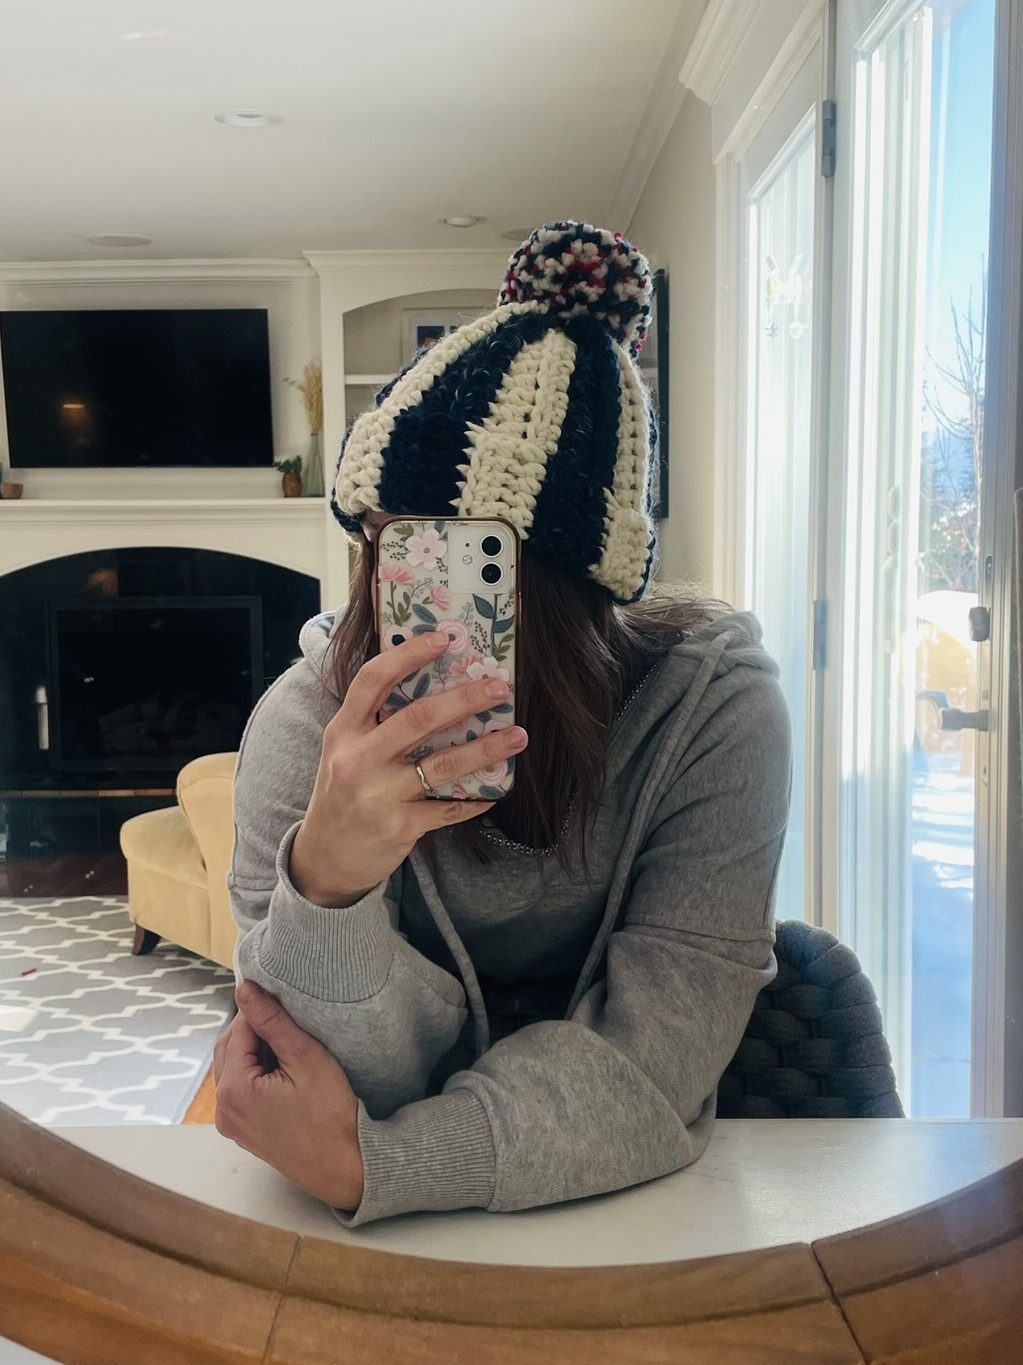
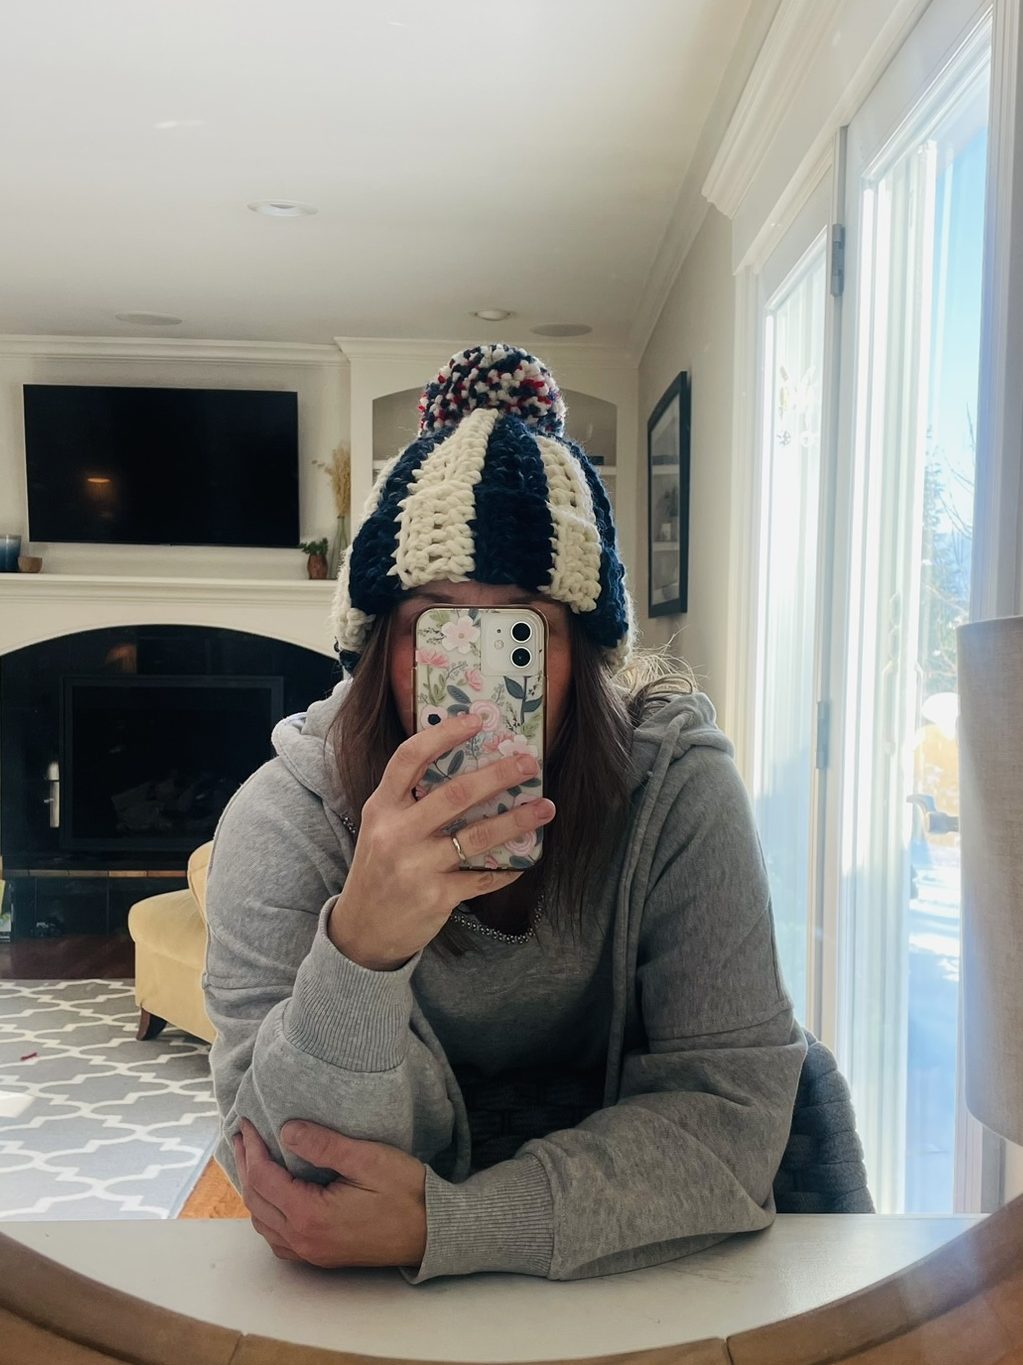
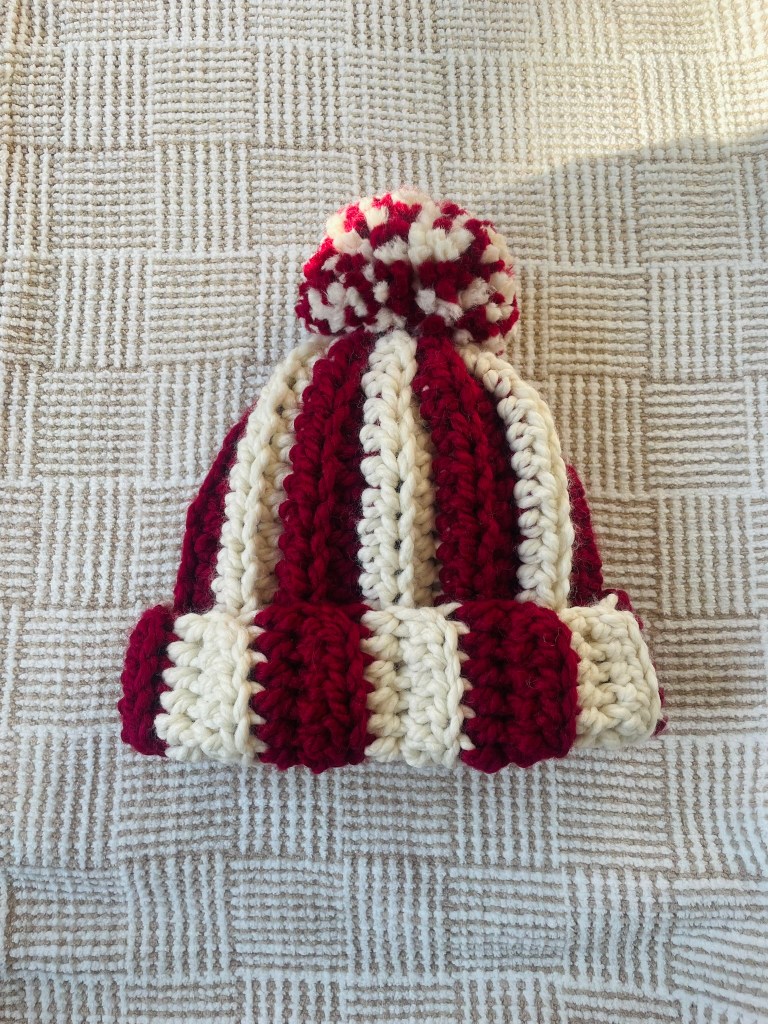
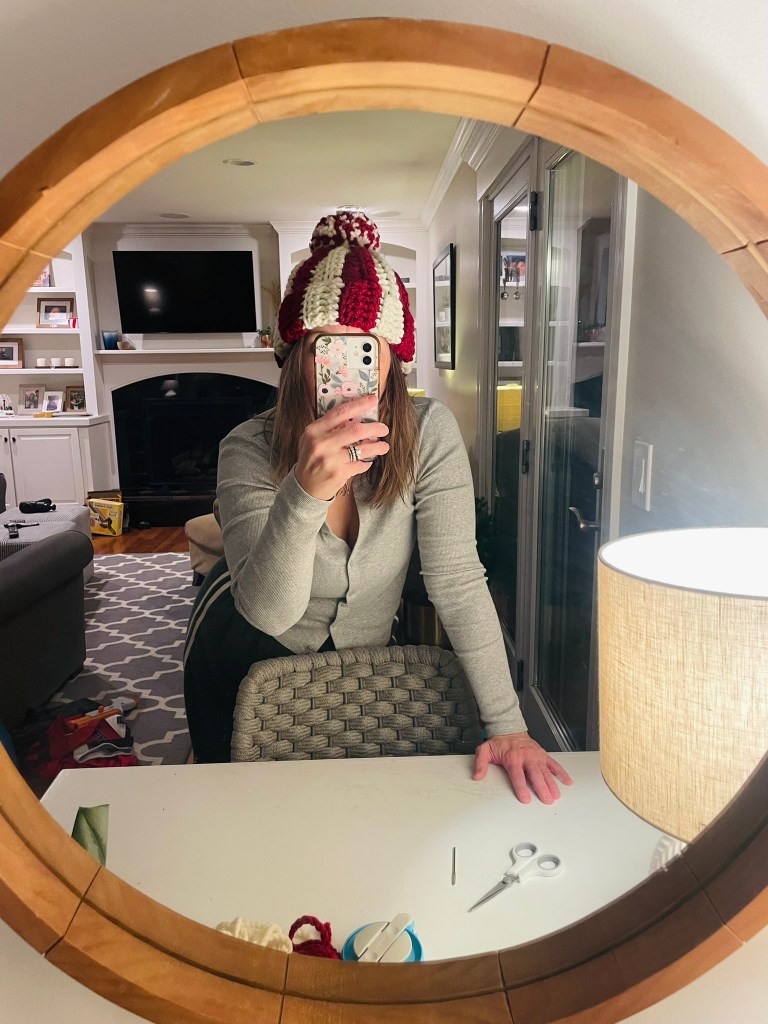
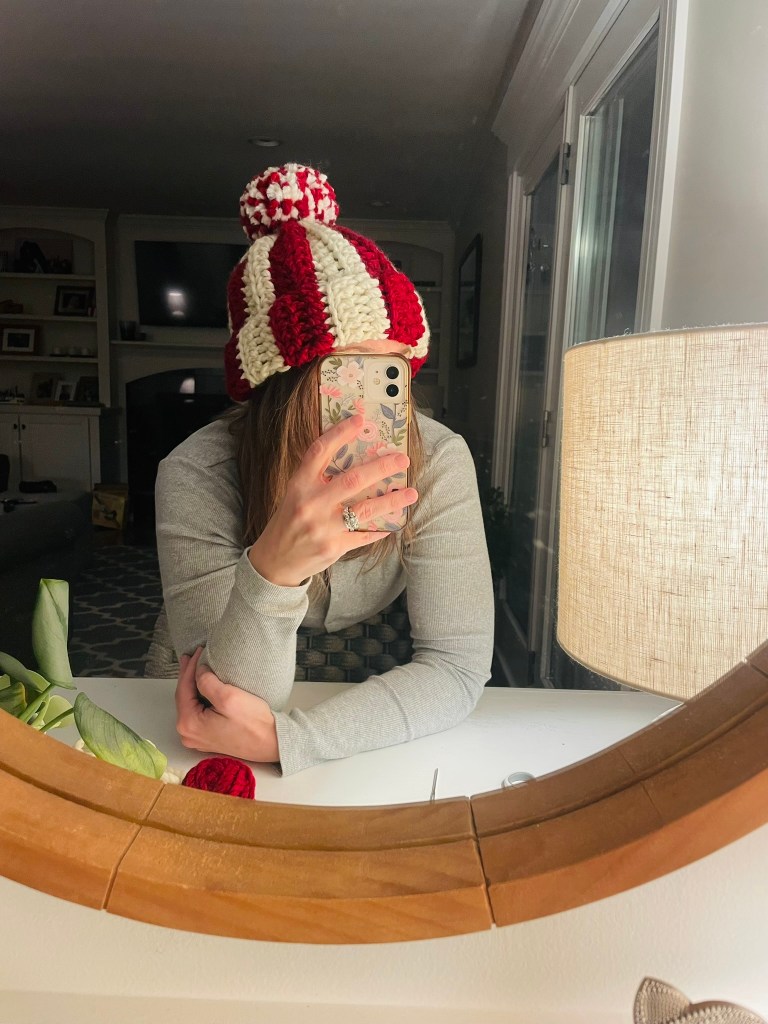
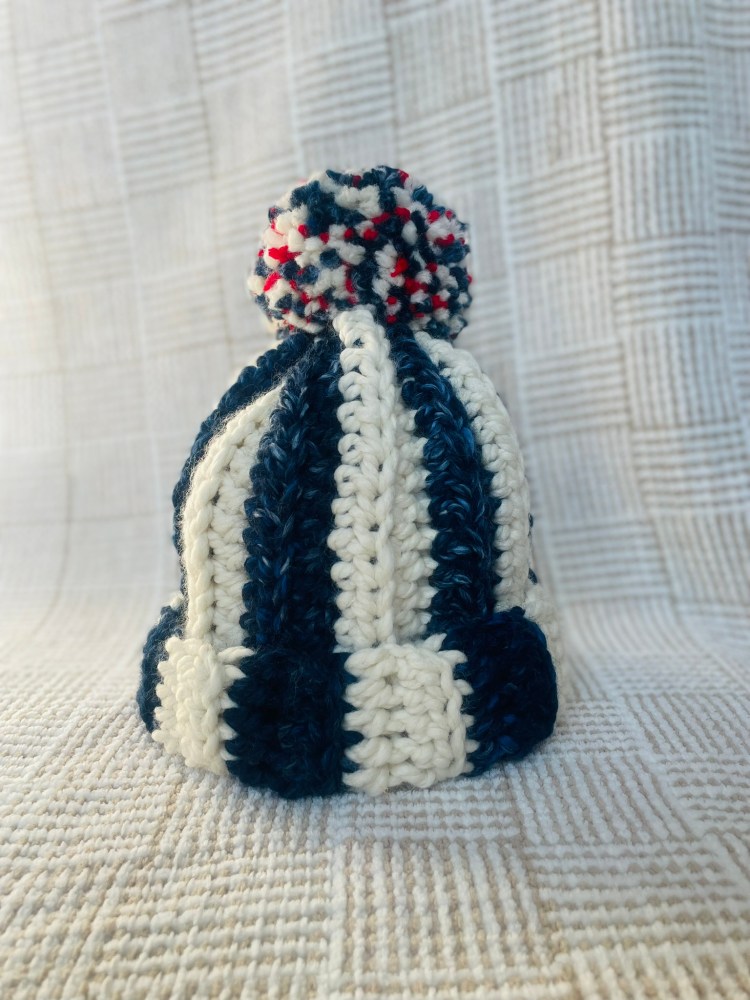
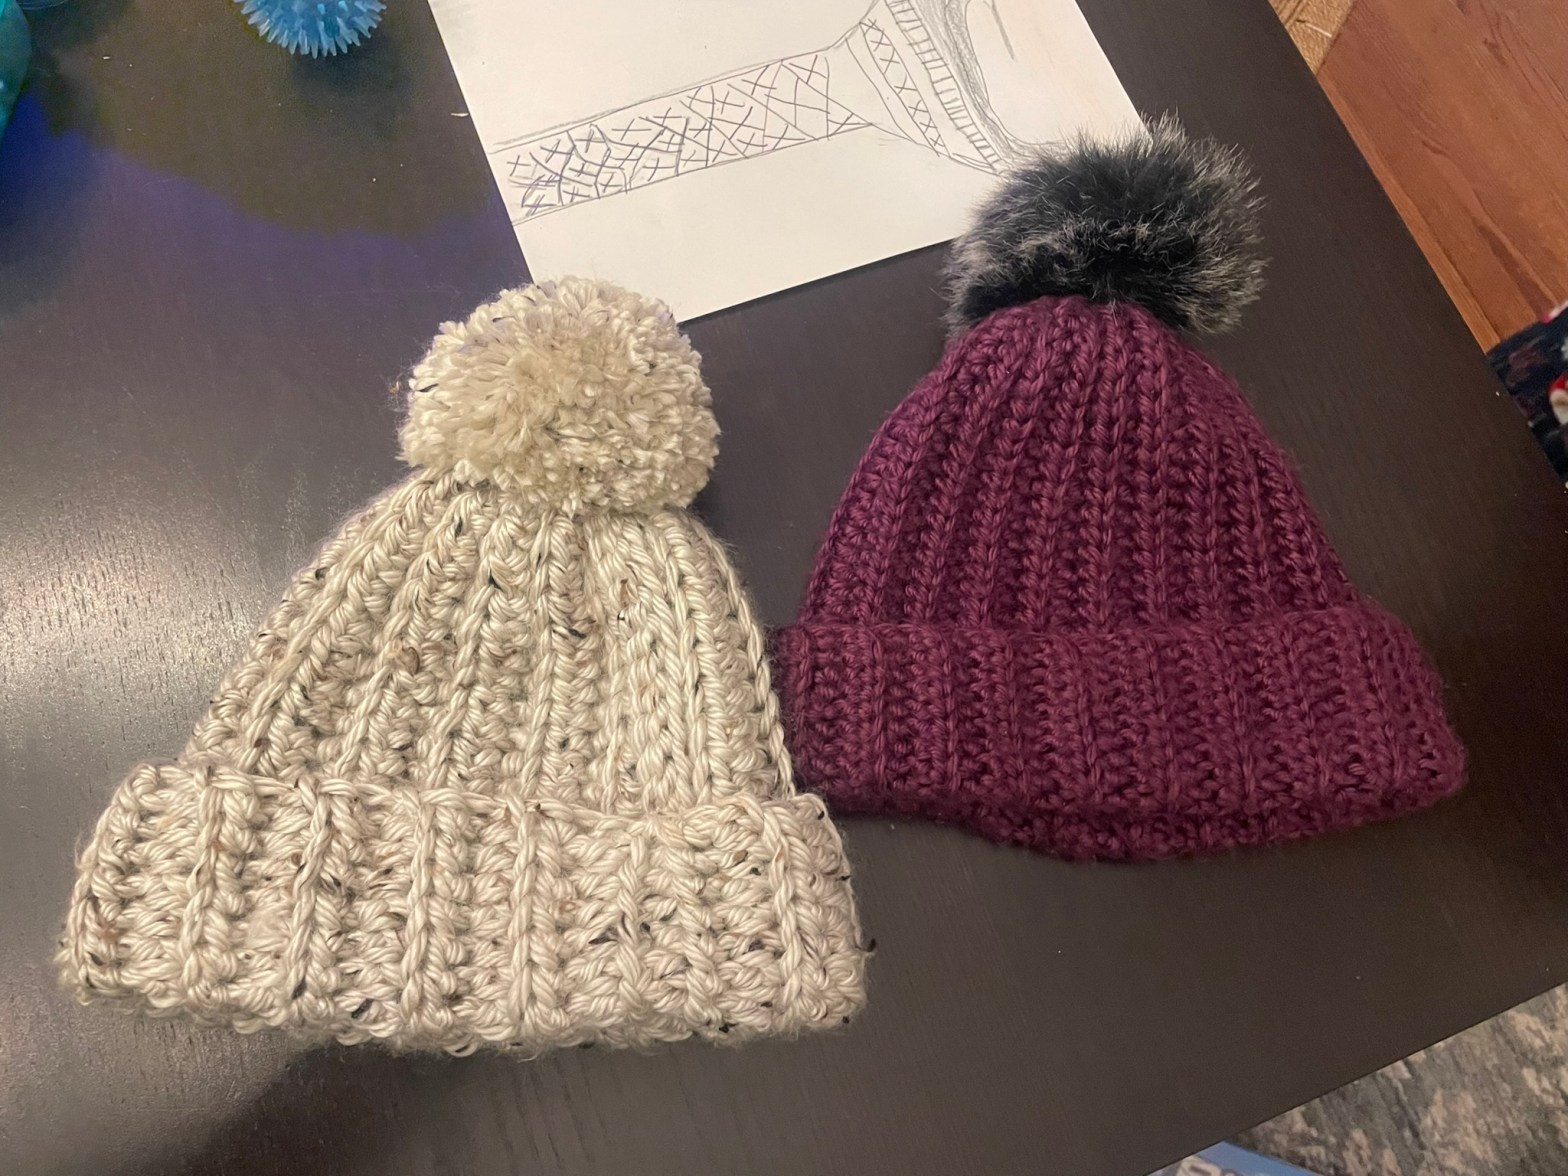
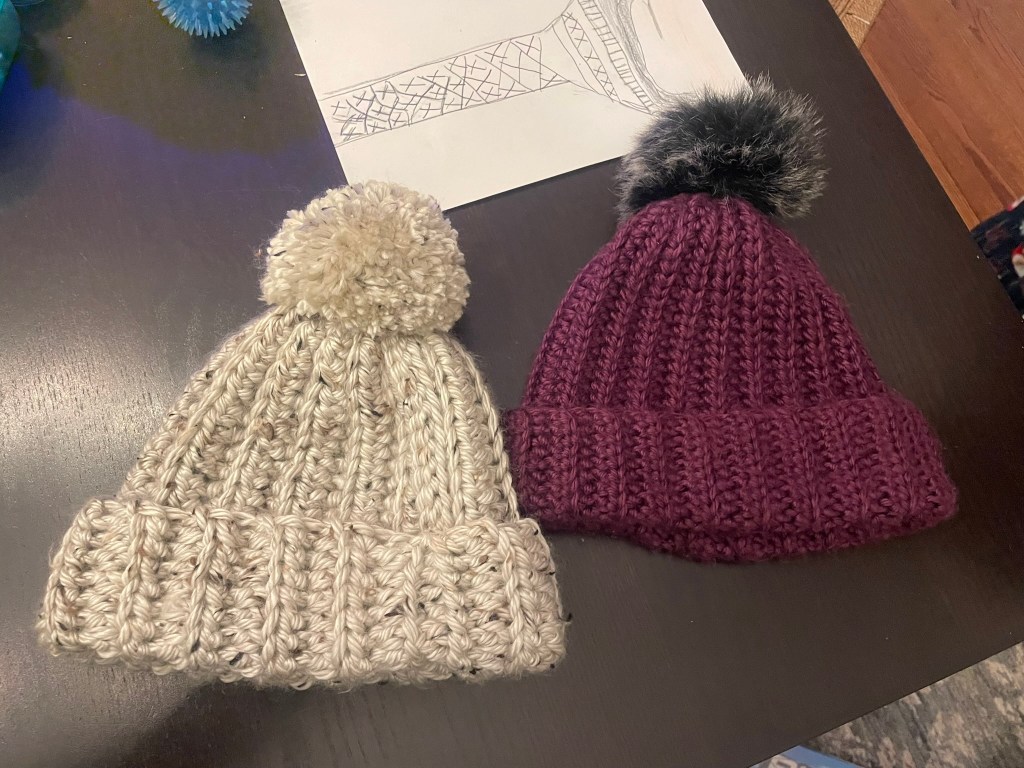
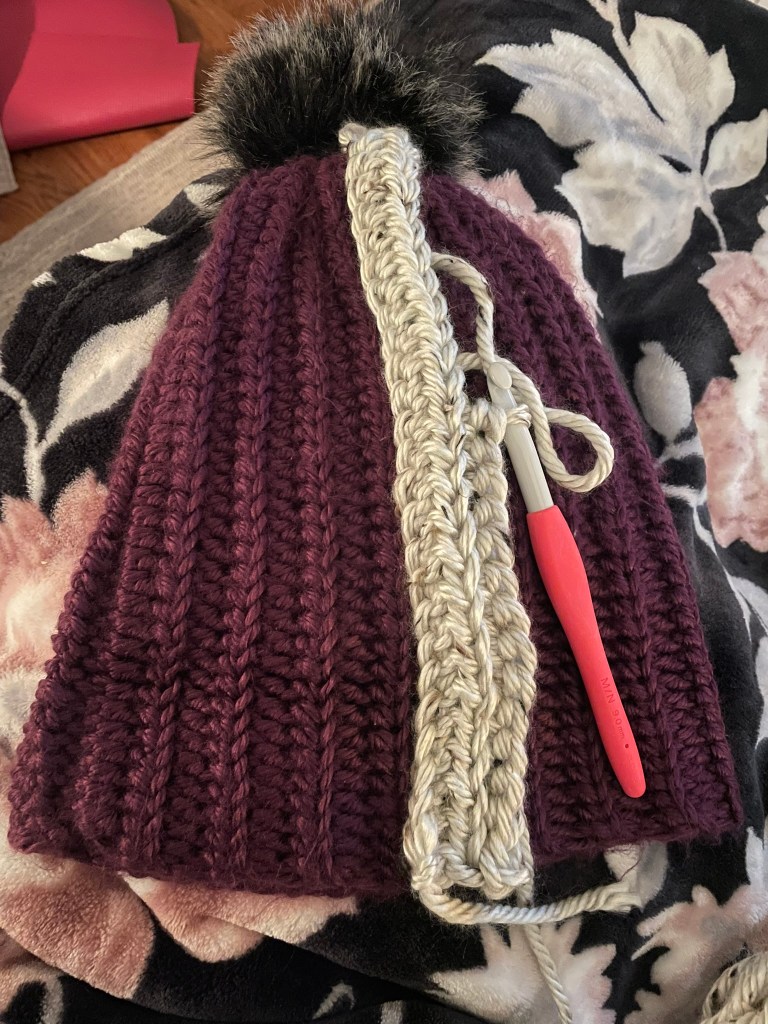
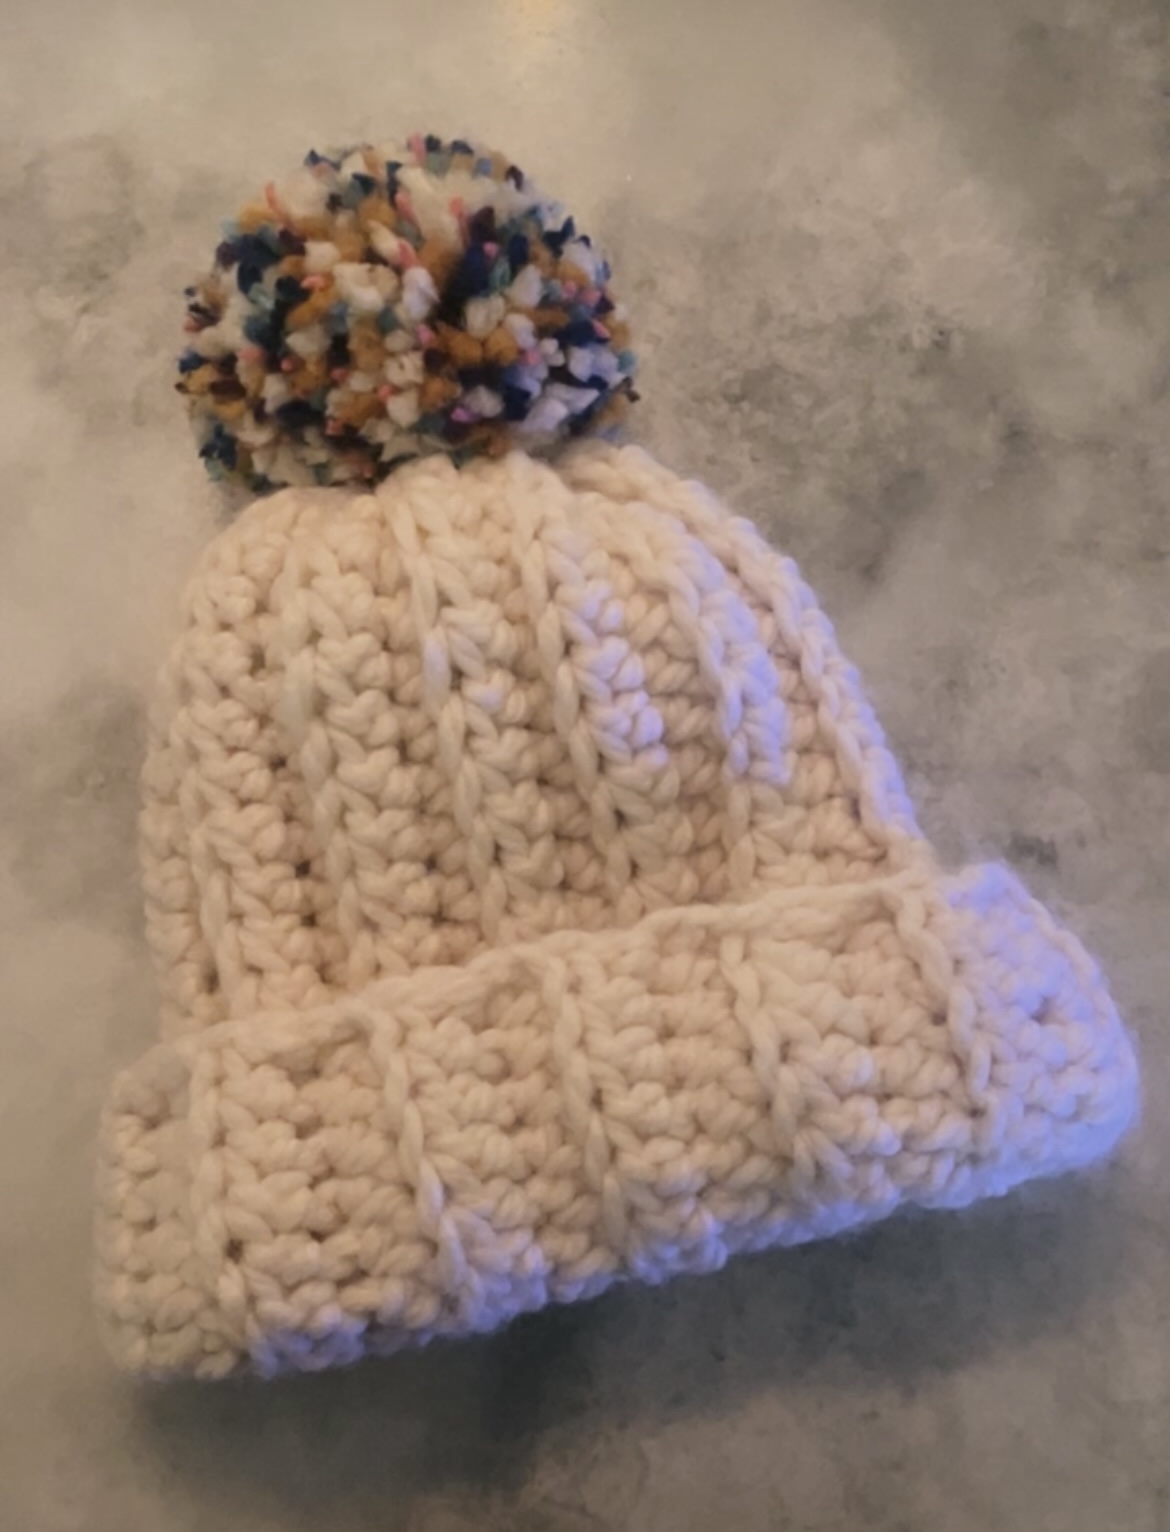
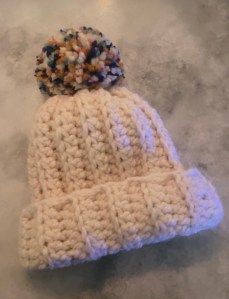
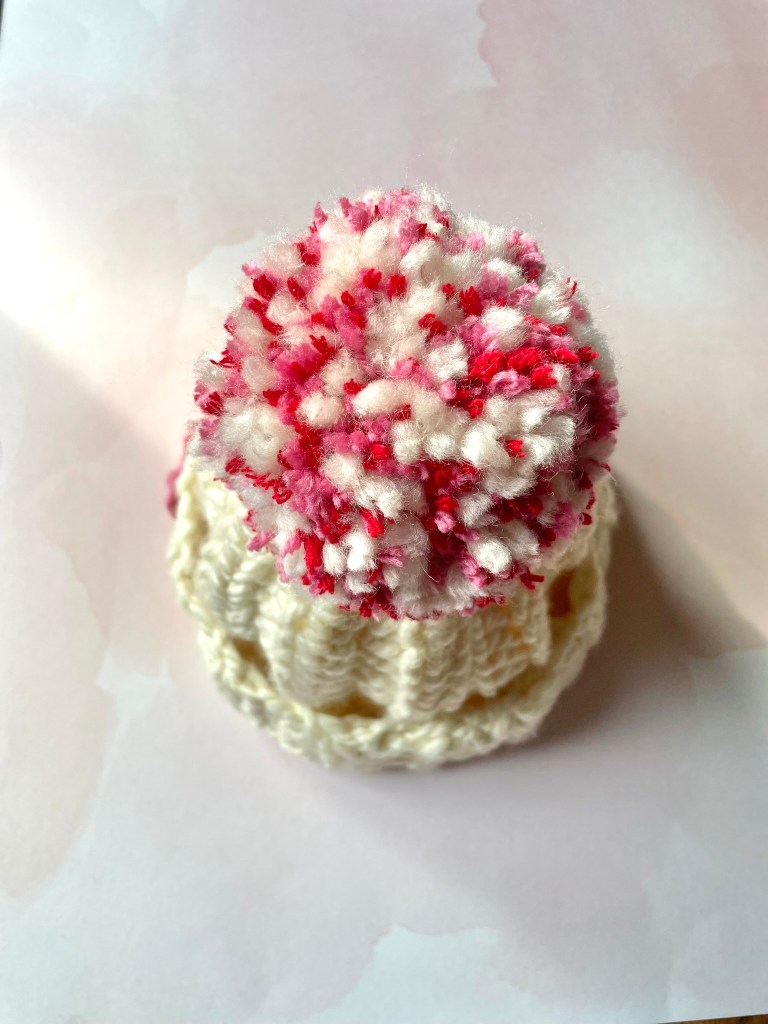
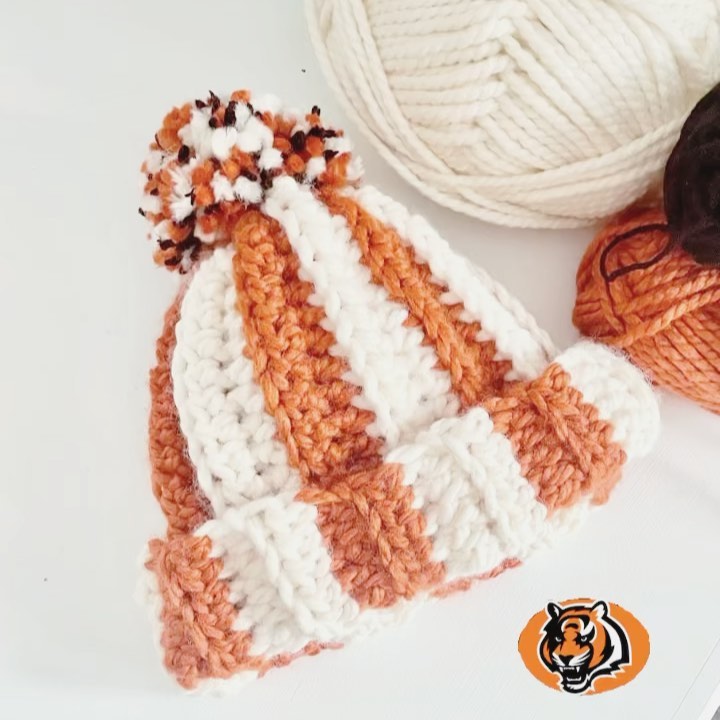
So many people want to jump straight into making something cute and complicated. I get it. My first project was a newborn hat. But crocheting in the round is tricky and I could only make something by following a person in a video. I walked away with little crochet knowledge to apply to future patterns and projects.
Think of this scarf as a teaching tool you’ll have forever.
Once it’s done, you’ll be amazed at how much easier everything else feels.
If you’re new to crochet, what questions do you have?
And if you’re an experienced crocheter—what was your first project? Do you think you would’ve benefited from starting with a simple single crochet scarf?