By Nicki Byrnes
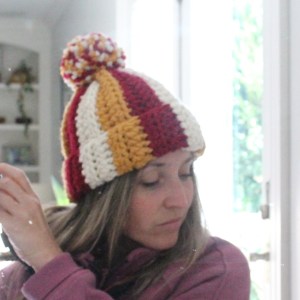
Valentine’s Day is just around the corner, and there’s no better time to add a little handmade love to your life. Whether you’re looking for the perfect Galentine’s Day gift, something special to make for your kids’ teachers, or a cozy accessory with festive vibes for yourself, this crochet hat is just the project.

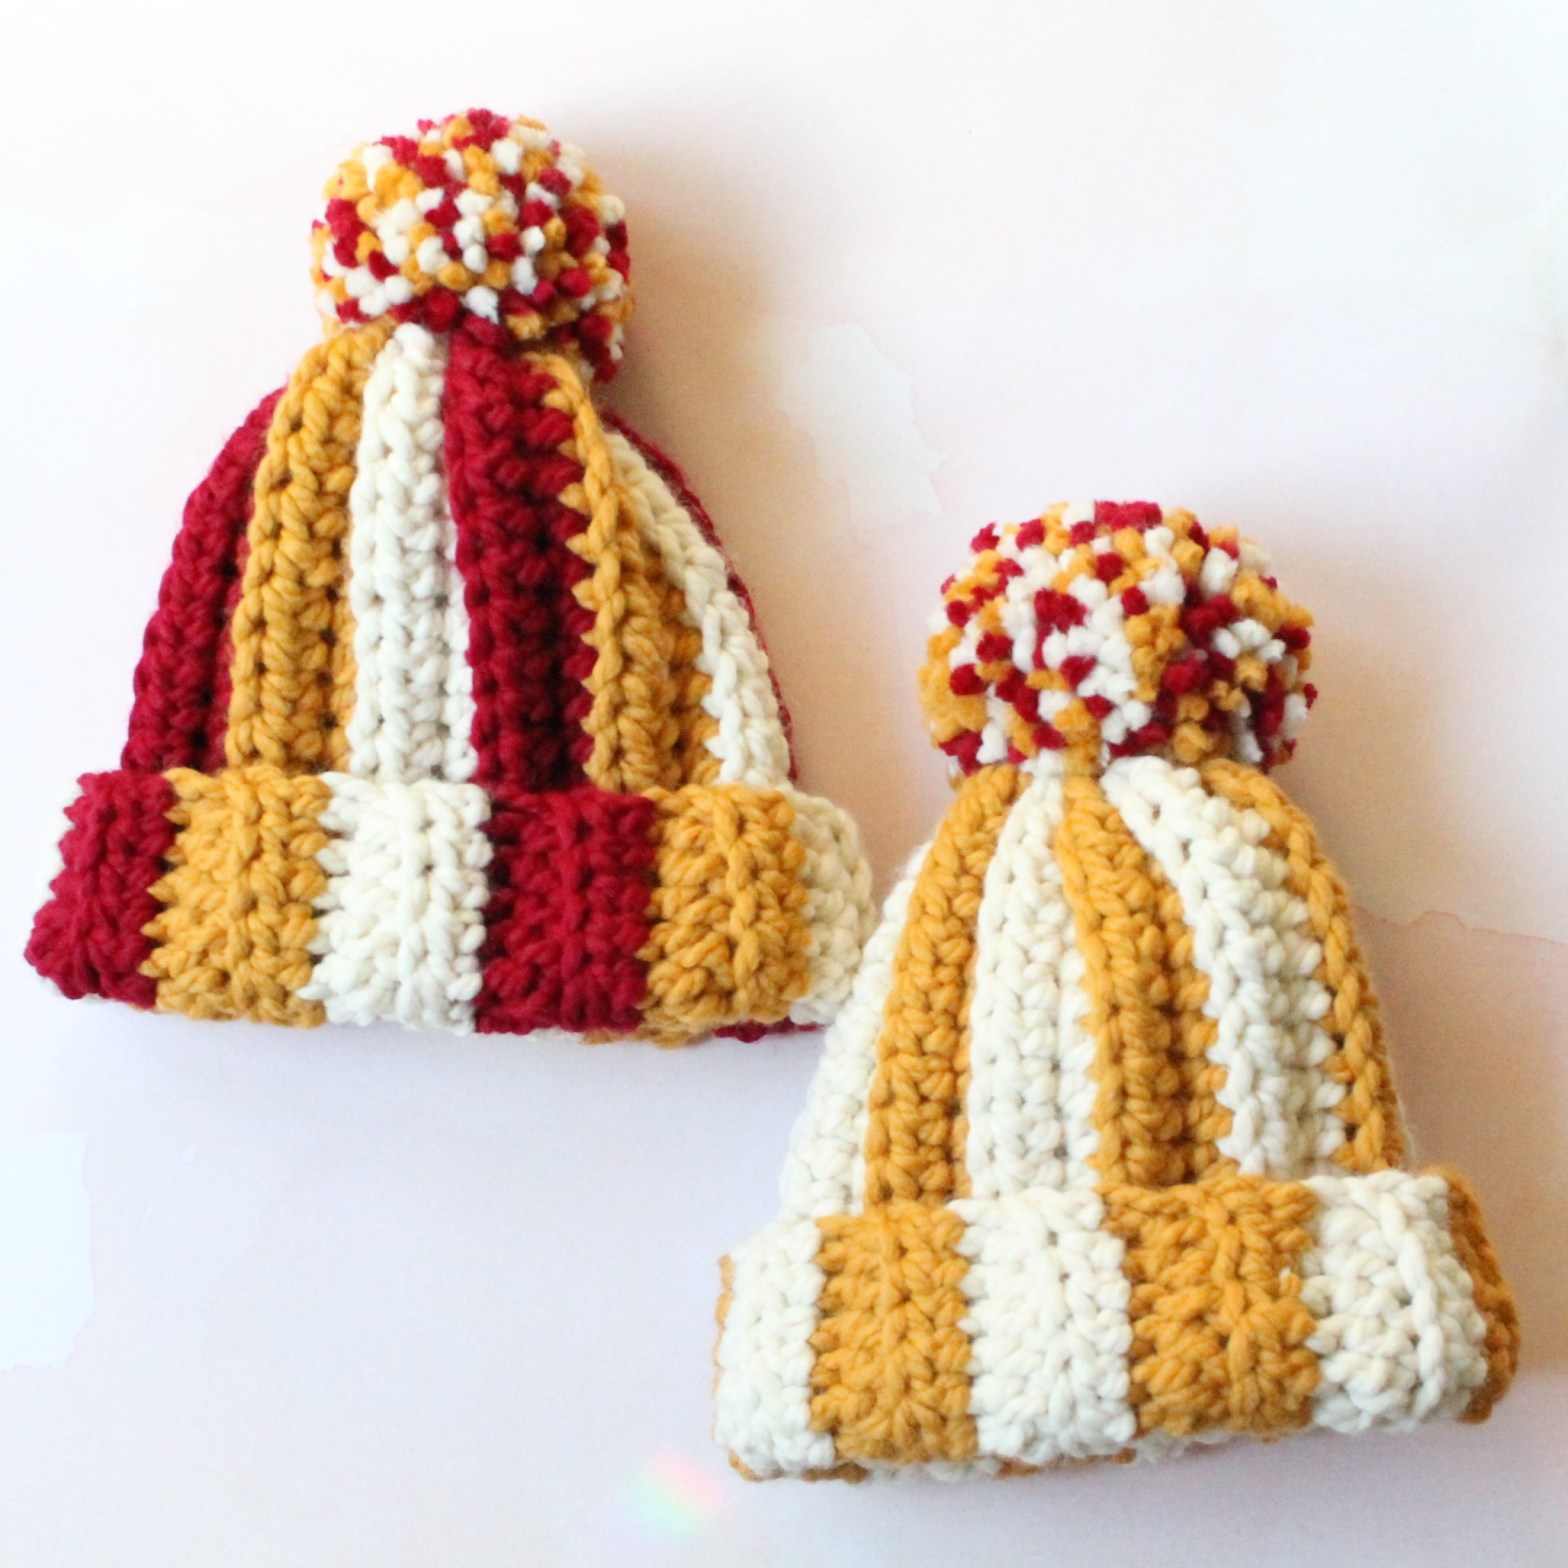
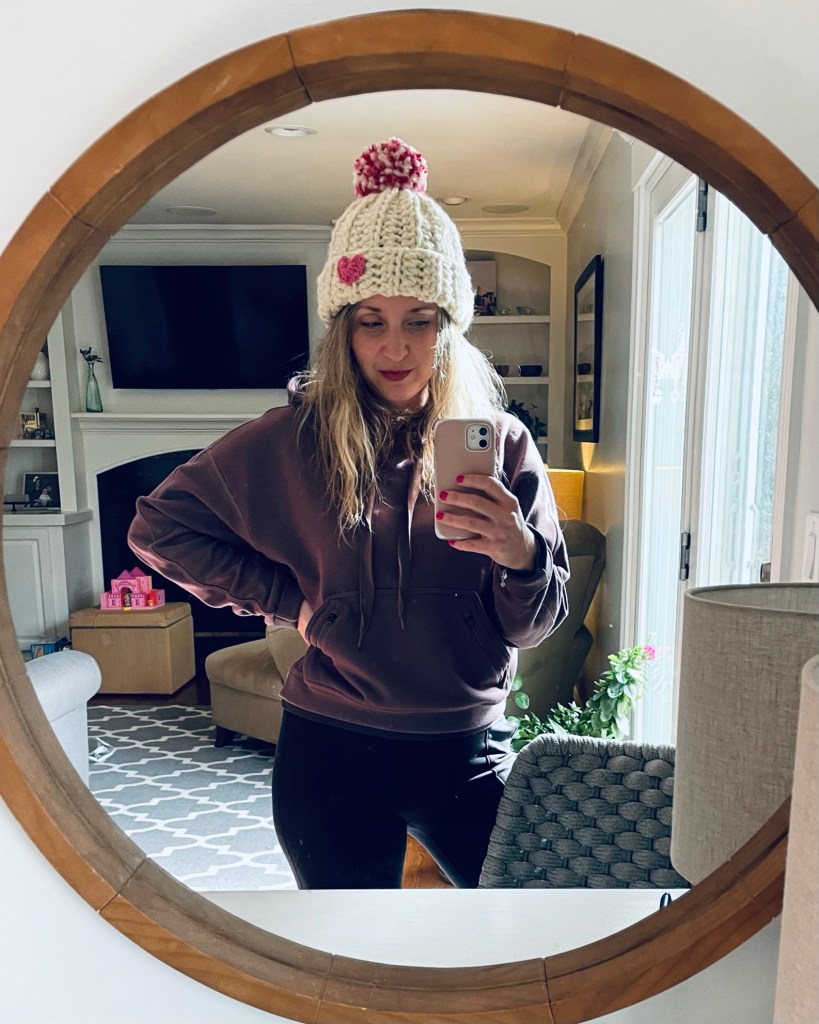
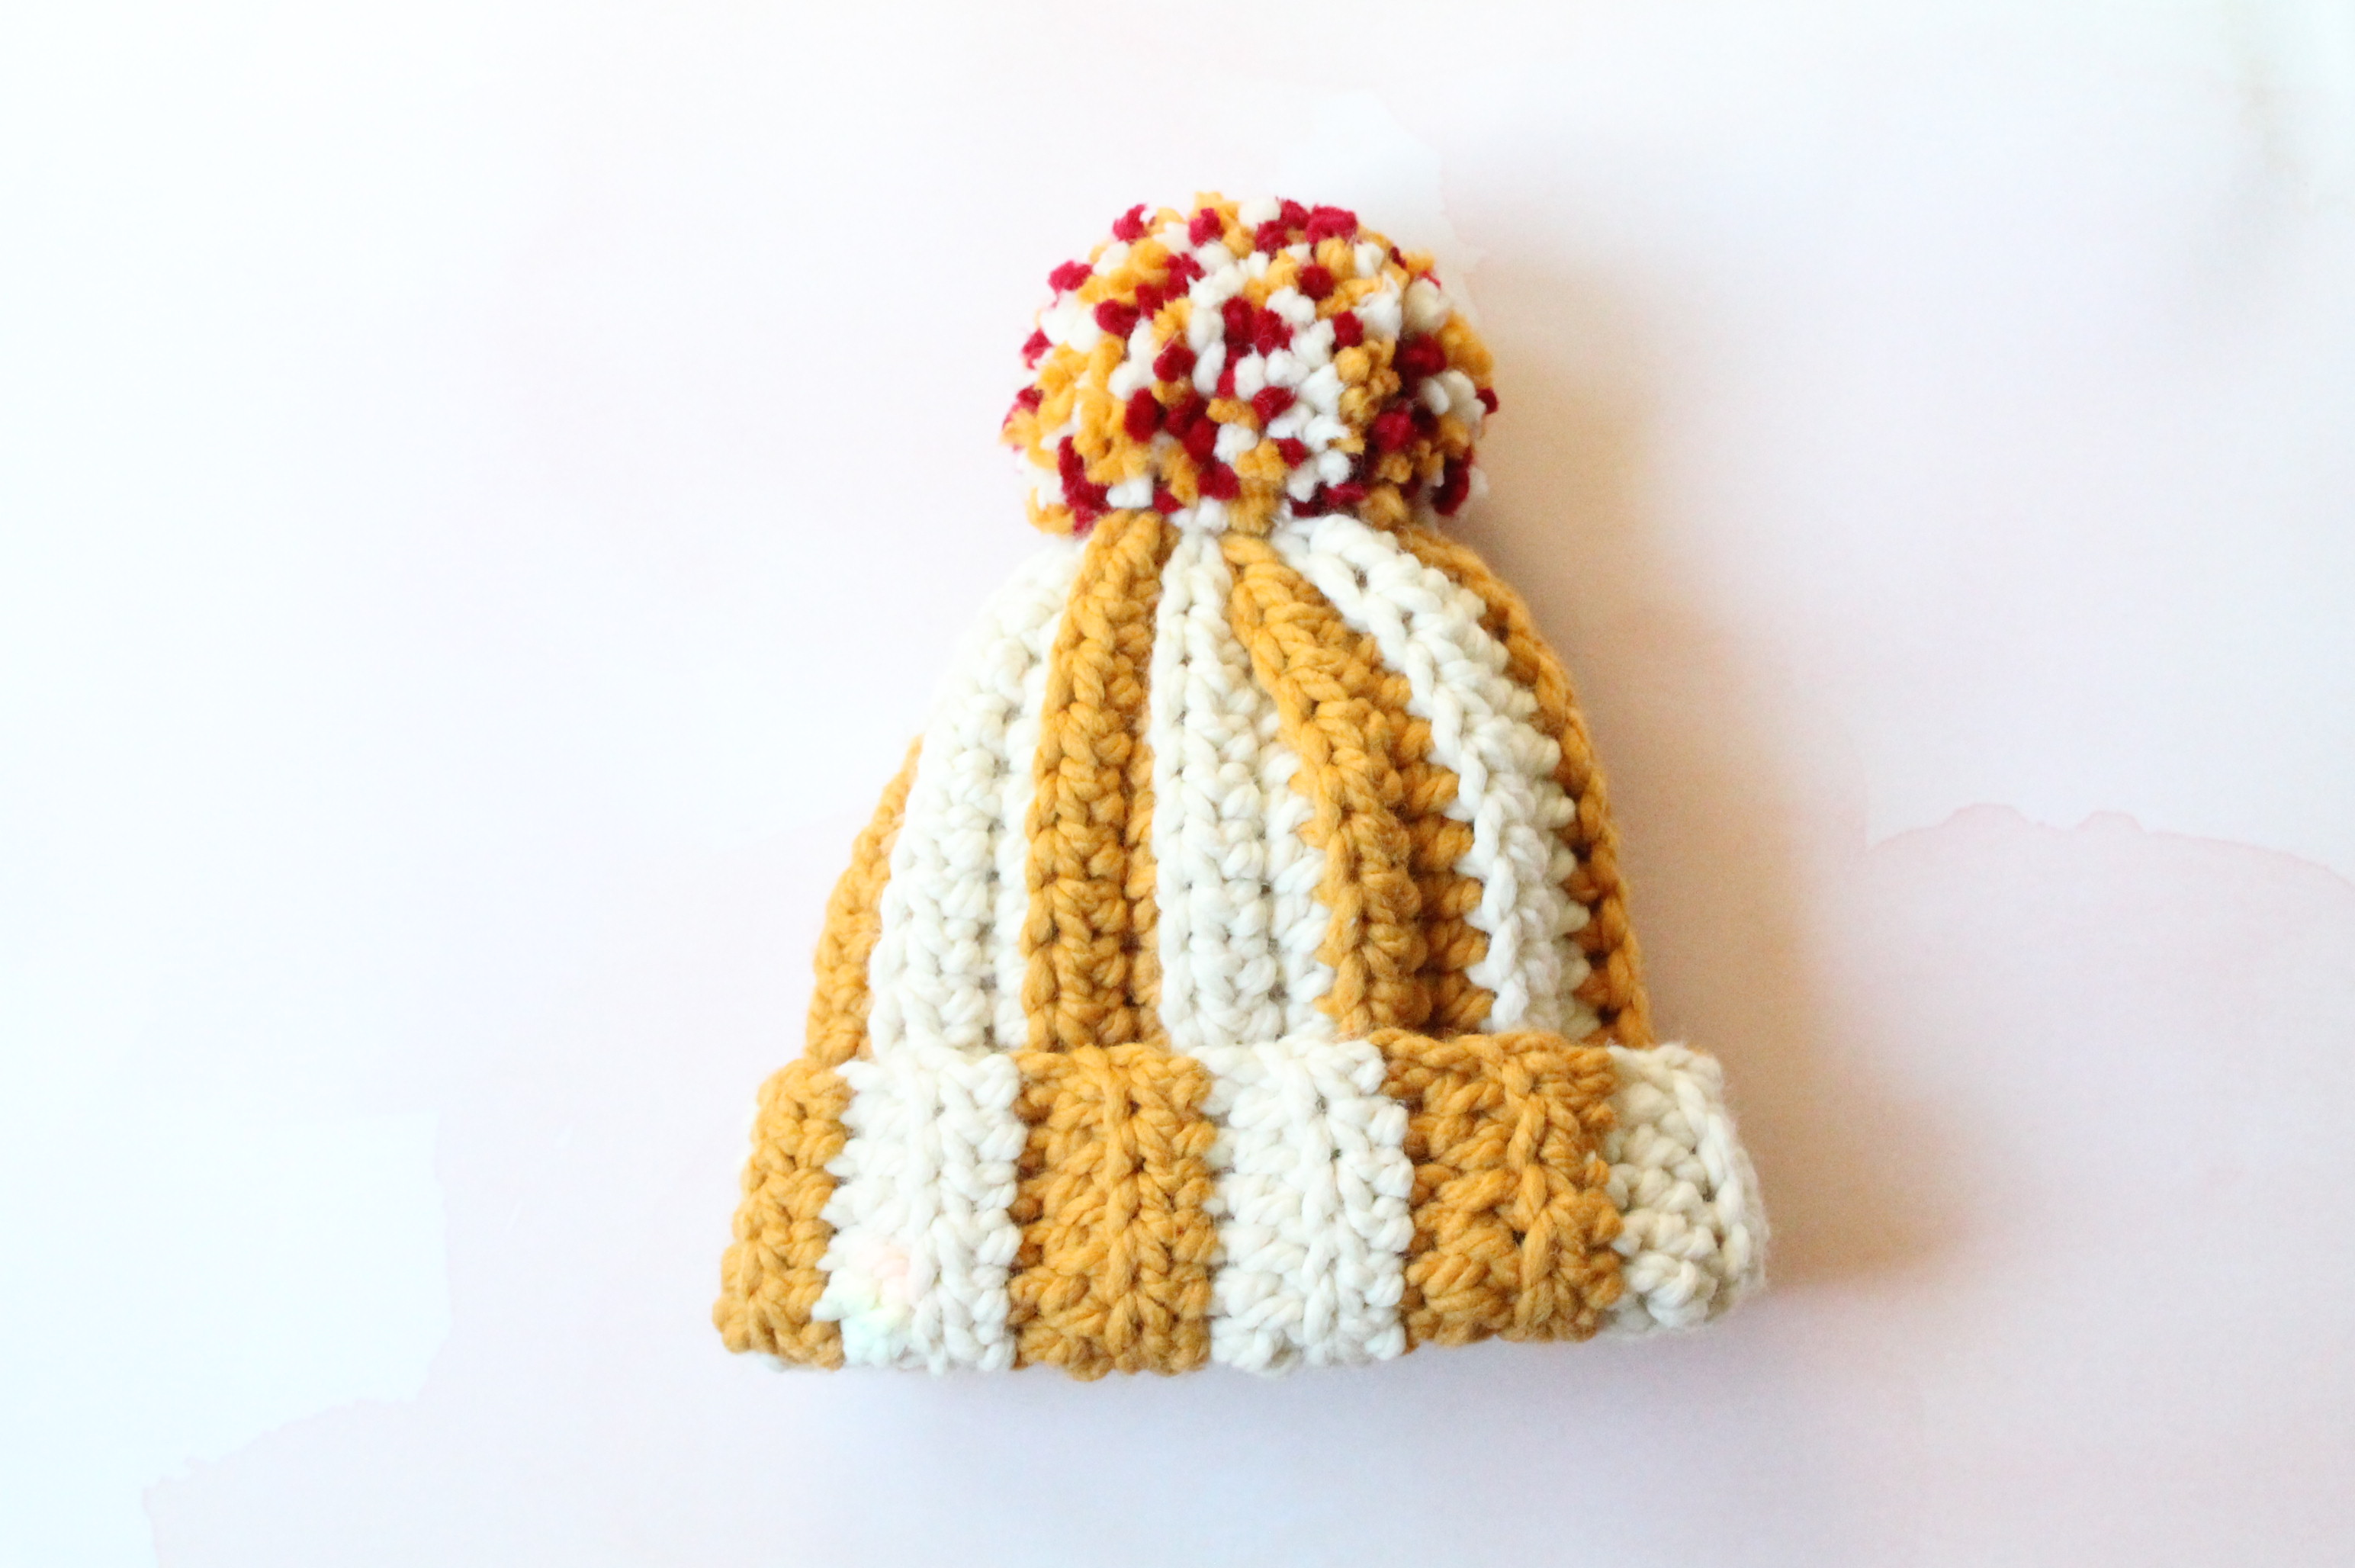
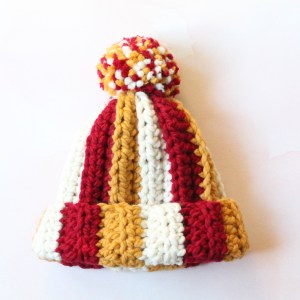
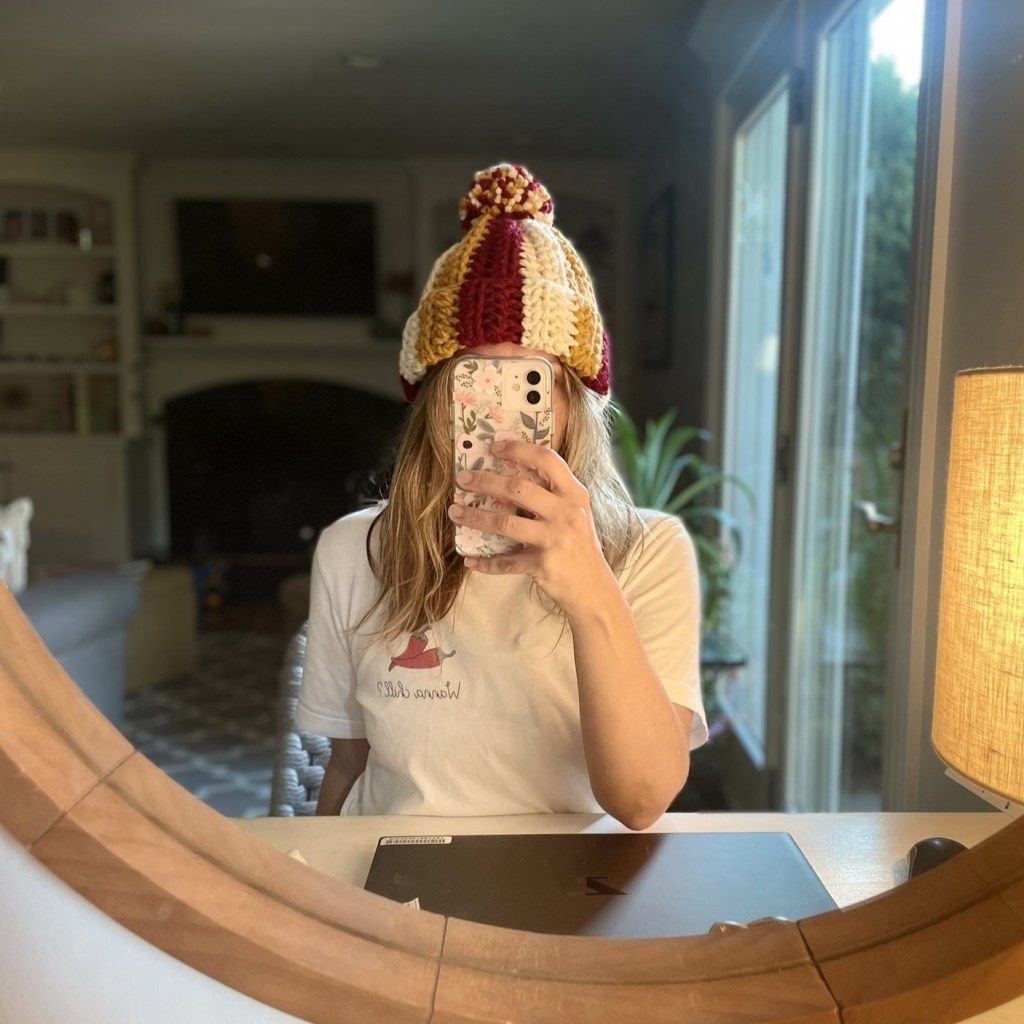
With its cheerful mix of pink, red, and winter white, this hat is the perfect way to embrace the spirit of February. The little pink heart and oversized pom-pom add the perfect finishing touches, making it a fun, eye-catching piece to wear around town or gift to someone special.
Thanks to bulky size 6 yarn, this project works up fast – you’ll be wearing it by the end of the day! Honestly, I feel like I spend more time trimming the pom-pom than crocheting the hat itself.

Quick Overview of the Hat
Do you like to figure out how to crochet things yourself? I get it – that’s how I started. I am listing out my high level directions below. I am assuming you have made a basic crochet hat before. If not, I recommend purchasing my full pattern here with details like specific yarn recommendations, hook sizes, and row-by-row instructions. It is for a striped version, but just use one color if you’d like and ignore the color change if you want a solid hat.
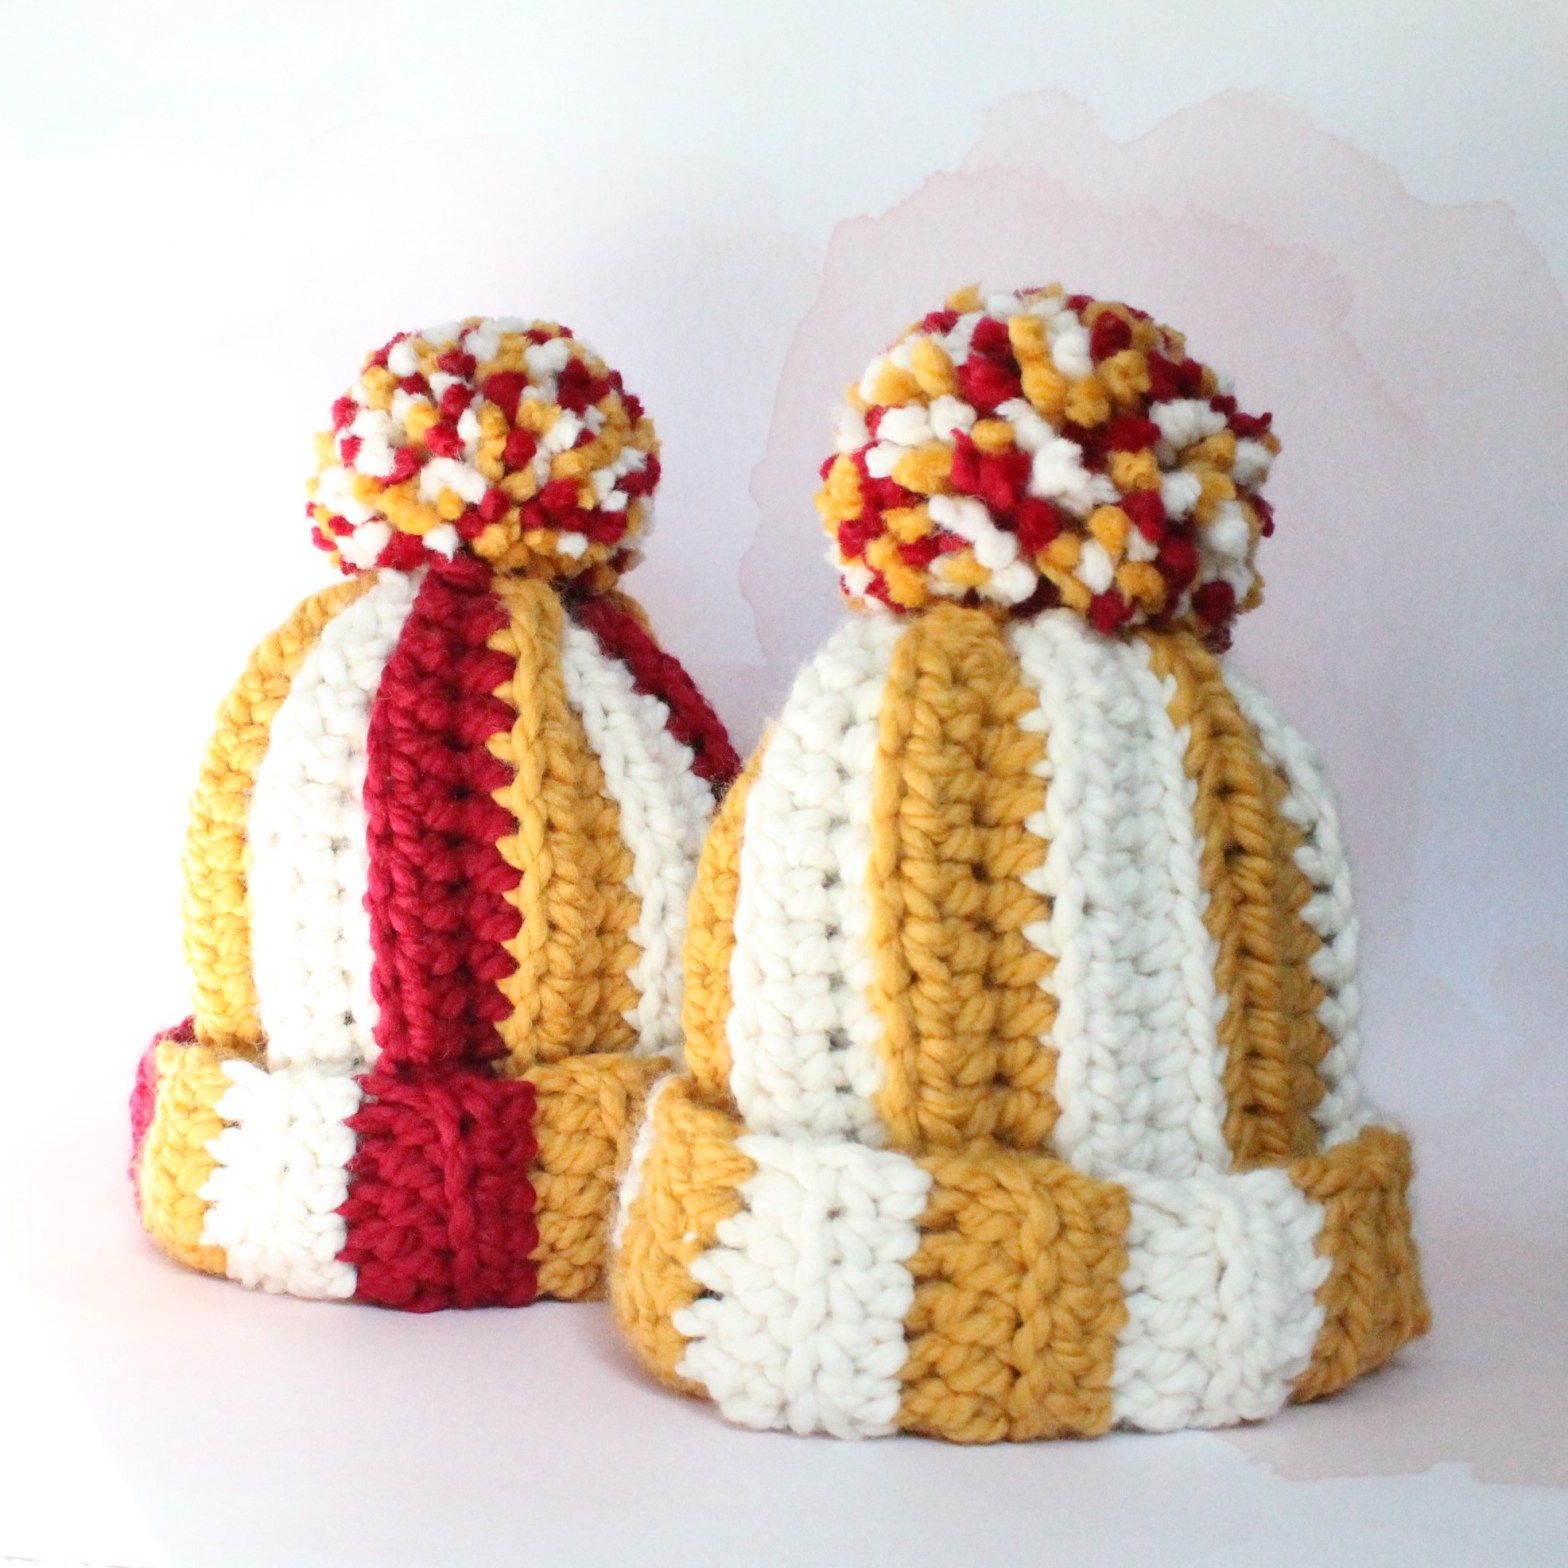
The best part? This pattern is versatile and customizable, so you can experiment with different colors and styles to create as many variations as you’d like. It also has instructions for two different sizes.
Ok, here is an overview of how to crochet this hat!
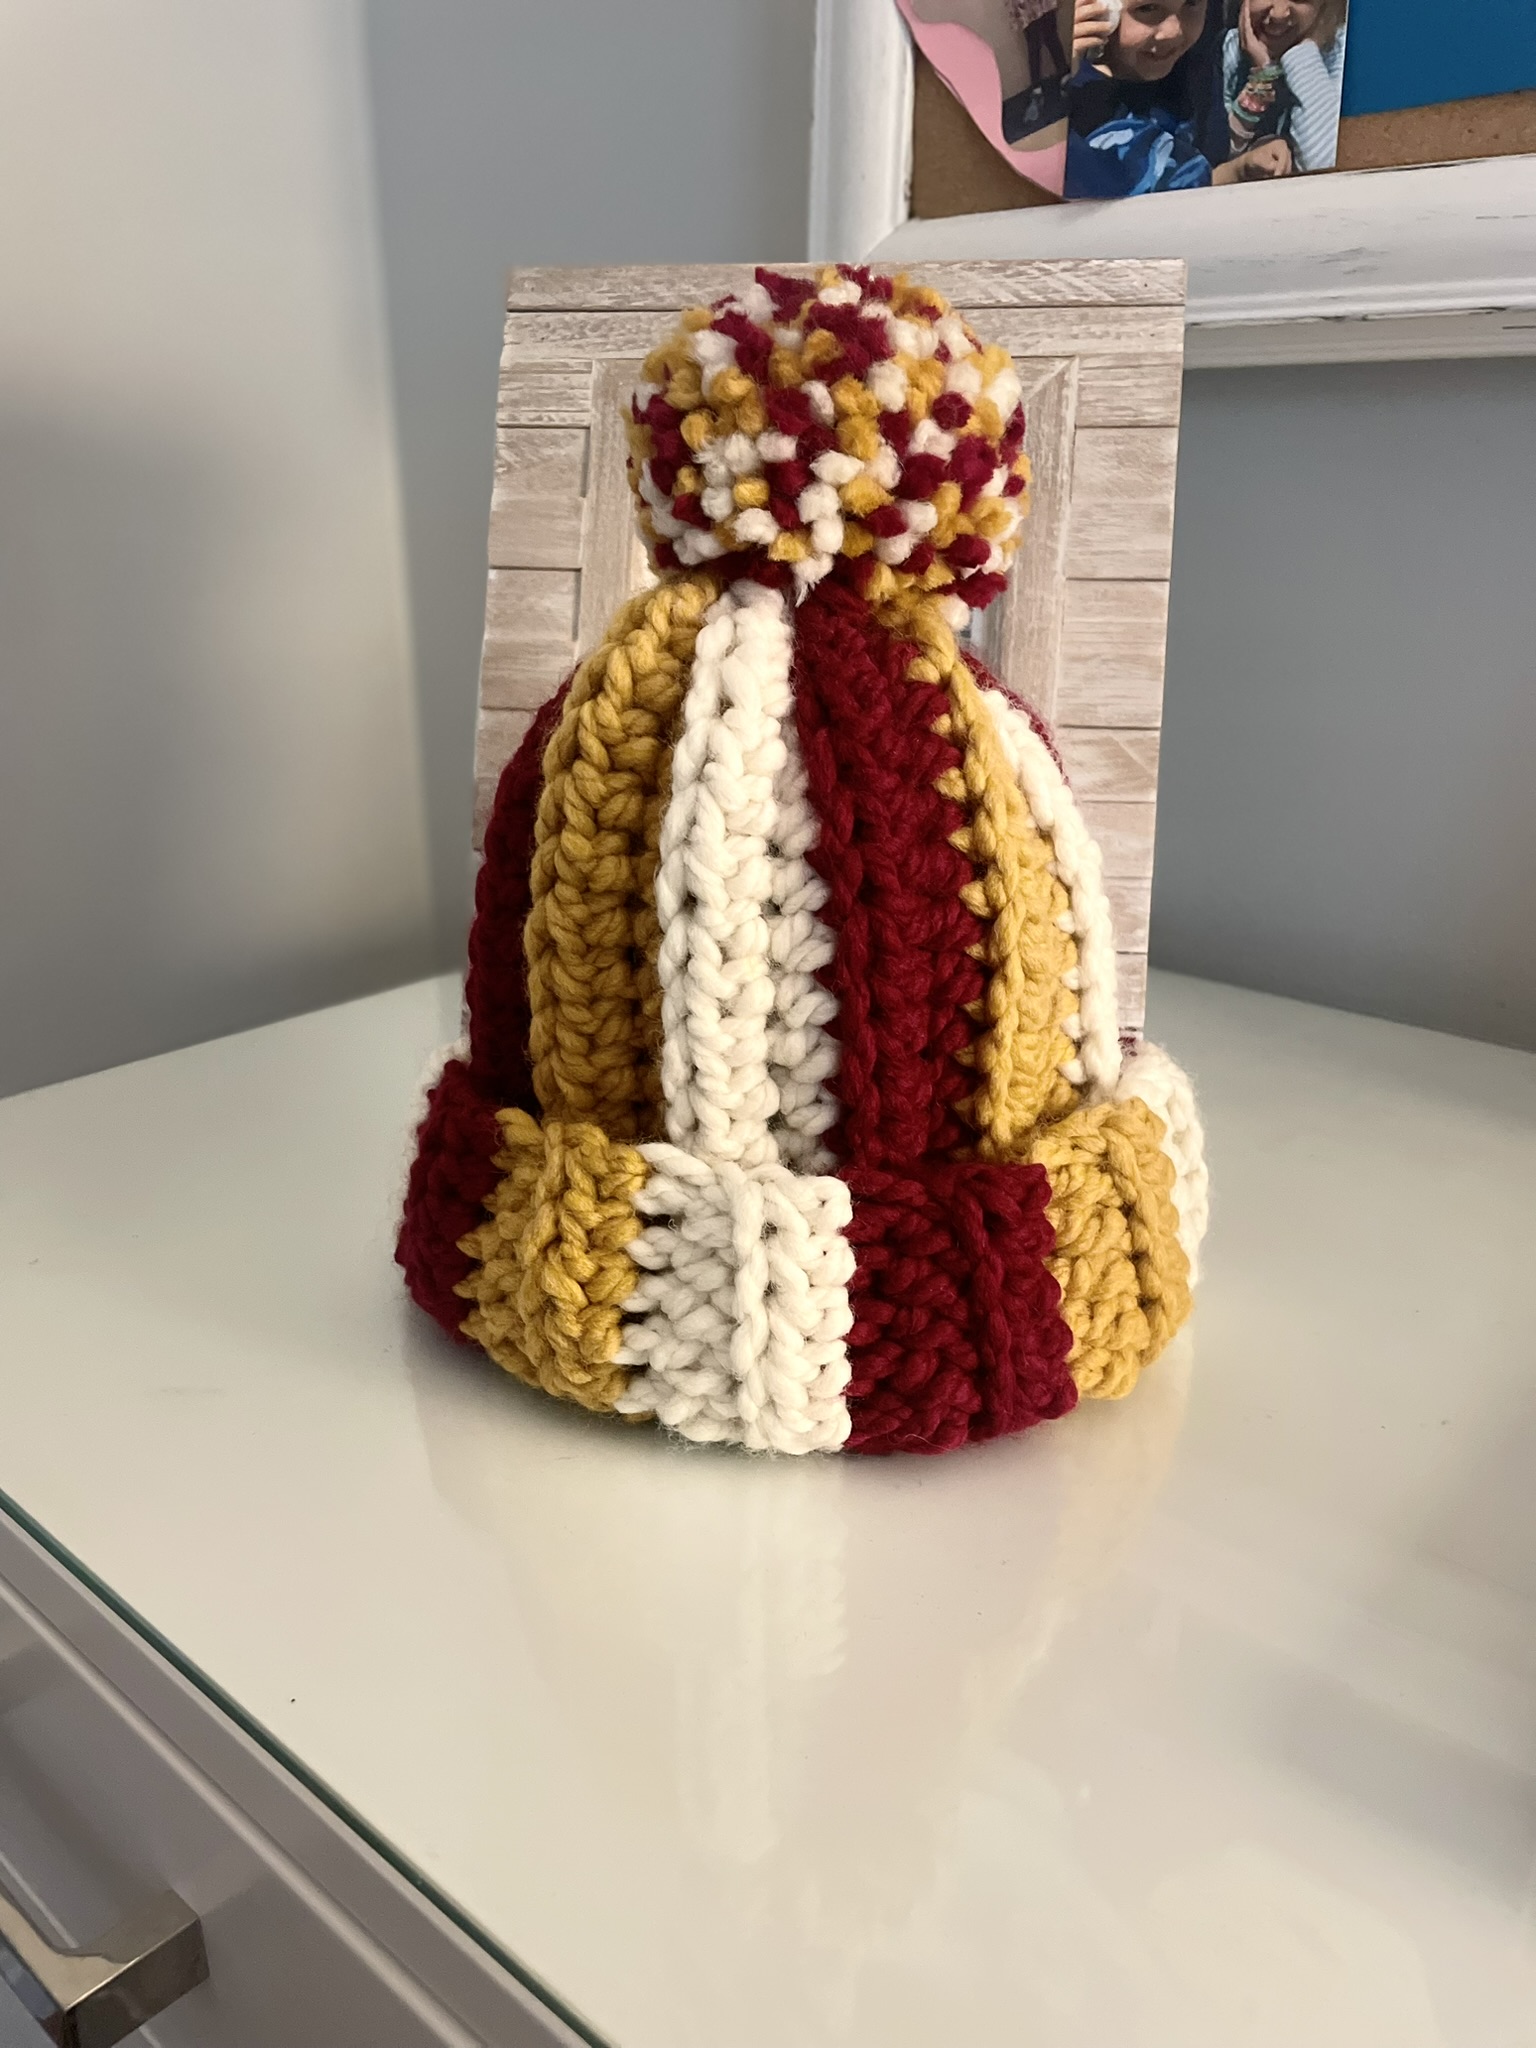
Crochet a rectangle approximately 10 or 11″ wide and 13″ long in your choice of stitch. The rows should make up the width, not the length, so they are vertical on the completed hat. I love half double crochet for its flexibility and pronounced texture, but single crochet would be warmer and double crochet would be faster.
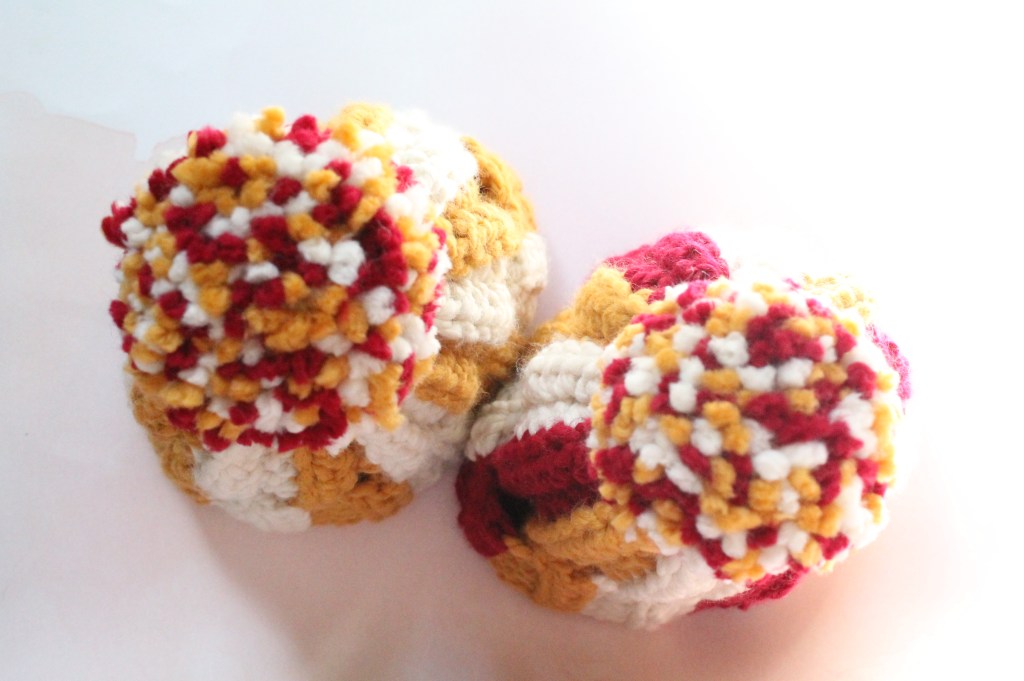
Steam the hat together by laying it WSO and using a mattress stitch in the back loops. Once your rectangle is closed, seam the opening shut by weaving in and out of every other stitch. Make your pom-pom. I like to use the big blue Clover pom-pom maker. Attach it using the tail from your seaming and then weave in the pom-pom ends.
Now the fun part – crochet a cute little heart in your choice of color. I went with pink. Here’s a video on how to make a small flat heart applique. Seam it on to the hat brim (when folded up so you can see it) using only loops on the back of the applique and the front of your hat brim. Don’t go through the whole fabric to the back side. You shouldn’t see it from the inside of the brim. Here’s a video on what I mean.
So, what are you waiting for? Let’s get crocheting and spread some cozy love this February!