By Nicki Byrnes
Curious what items you need to crochet? A common theme or obstacle when first learning to crochet is confusion, including what tools and accessories are needed. I have outlined below what you need to get started, as well as a list of what I call “nice to have” items. These are items you will either need eventually, or will make your life easier.
Read on for my recommendations and favorites, along with links for where to find them. I have also included a downloadable list at the bottom. A budget-friendly alternative to purchasing these items new is to visit thrift or creative reuse stores, which often carry hooks and yarn!
Yarn
Let’s start with the most obvious item needed for crochet. Yarn comes in many forms, from artificial to natural fibers. Here is a great reference if you’d like to learn about synthetic (or man-made) versus natural yarns.
If you’re just learning to crochet or working on your first project, I recommend starting with an acrylic yarn. It is economical, readily available, and comes in many colors. You can find it at craft stores like Michael’s, Joann Fabrics, and Hobby Lobby, big box stores like Walmart and Meijer, and online at all the stores mentioned plus the individual brand websites and Amazon. Amazon has an entire Lion Brand store, which you can see here.
My recommendation is to visit your nearest store that carries yarn (soon to be your favorite aisle!) and choose any acrylic yarn in a color you like. Some acrylic yarns can feel scratchy, so touch and feel the various yarns as you explore the yarn aisle. Look at the back of the label and make sure it says Medium 4.

The yarn label may look confusing to you at first. Here is a brief explanation and here is a thorough explanation of each component on the label if you’re interested. But if you’re just beginning, or get confused with information overload, save this for another time and focus on choosing your first yarn. Here’s all you need to know at this point: The number equals the weight or thickness of the yarn. 4 is medium weight and is often referred to as “worsted weight” yarn. It’s what we have all used for crafts and our grandmas used for afghans.
Acrylic yarn is not biodegradable, so if you are eco-conscious, you’ll want to find an alternative that has a natural fiber. This includes materials like wool, alpaca, cotton, bamboo, silk, and so on. There are hybrid options, like 80% acrylic/20% wool yarn, as well as 100% natural options which are available at craft stores. The other option is shopping at a local yarn store. They typically carry higher-end yarns, which can carry a steeper price tag but also contain quality fibers. For example, this is a beautiful and soft worsted weight yarn. You can click “Locate a store” on their site to see if it is available near you. If not, your local yarn store employees can guide you towards great options.

Here are links for beginner-friendly worsted weight/medium (4) yarns:
- Acrylic: Lion Brand Heartland
- Hybrid: Lion Brand Wool Ease
- Natural: Lion Brand 24/7 Cotton
- Value: Lion Brand Pound of Love (this is at least 4x the yarn of a typical skein!)

Hook
Your hook sizes depends on your yarn weight. The thicker the yarn you’re working with, the bigger you need the hook end to be. Make sense? Hook size is denoted by a US and metric size. For example, a hook will be labeled H 8/5.00mm.
To see the recommended hook size for the yarn you’re working with, check out the label.

If you’re shopping online, some sites like Joann list it for you. See the yellow circle below, for example.

If you’re starting with a Medium (4) worsted weight yarn, here are links to hooks which are affordable and comfortable to work with.

Nice-To-Haves
If you’re looking to build your crochet tool library, there are additional items I recommend picking up. These are items you will either use when you get further down your crochet journey or make crochet life a little easier.
One that needs some explanation – if you’re just learning how to crochet, I have found some students respond better to a thick yarn than a worsted weight yarn, so I am including a recommendation below for an affordable thick yarn. If you have room in your budget, it may be wise to pick up skeins of worsted and super bulky (the name for weight 6) yarns when you’re shopping and hooks for both. Since it is a thicker yarn, you need a bigger hook. Some people have trouble seeing where to place the hook, for example, when working with worsted weight yarn, and others enjoy the feel of the larger hook when first learning.
- Lion Brand Wool Ease Thick & Quick
- N 10mm crochet hook
- Scissors
- Tapestry needles
- Retractable measuring tape
- Ergonomic crochet hook set
- Stitch markers
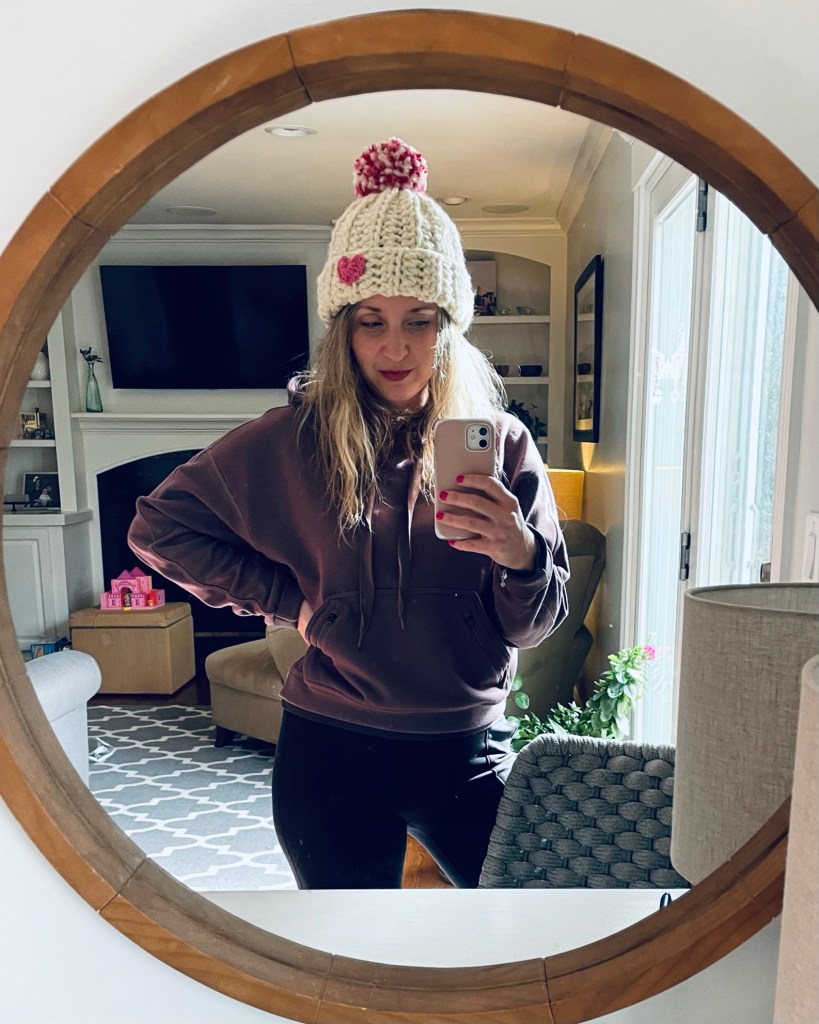
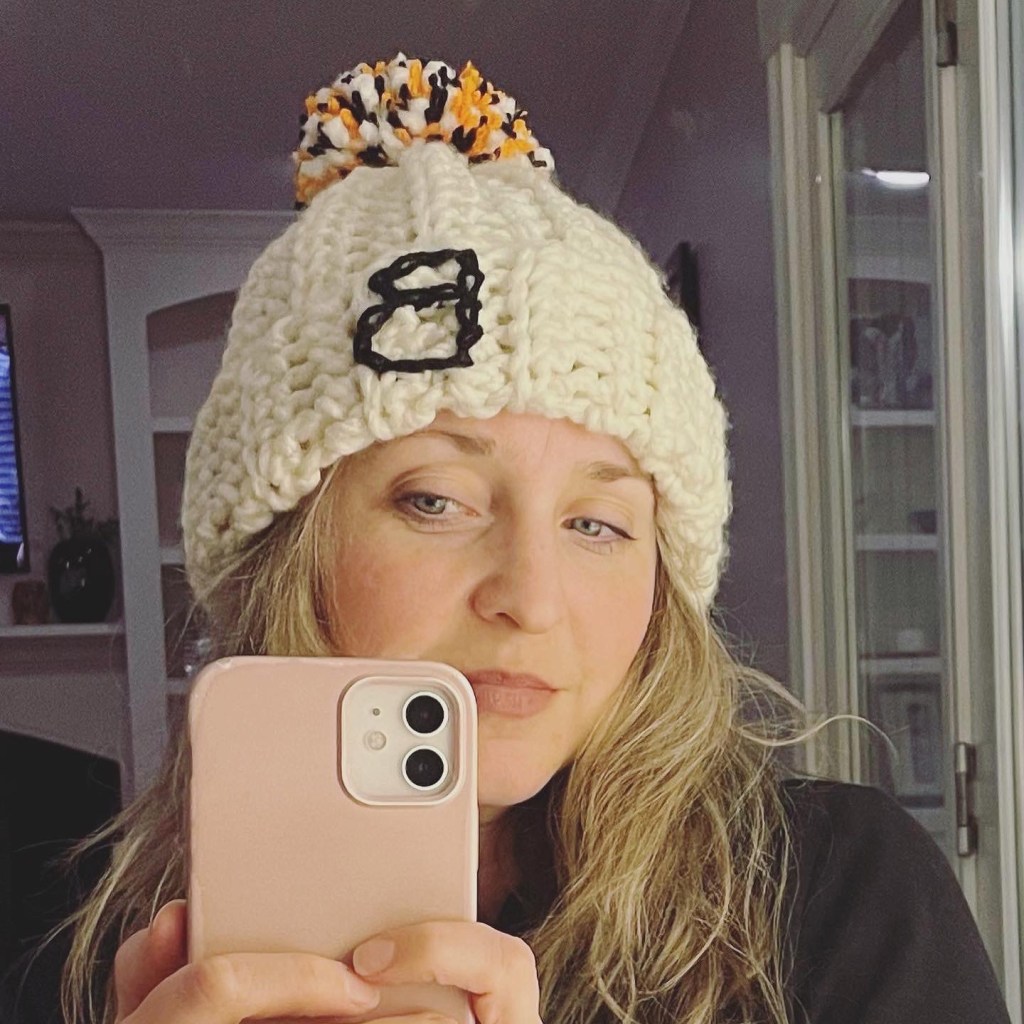
- Clover pom pom maker
- Thick scissors (for cutting pom poms)
- Project bag
- Fun project tote
- Accessory bags for hooks and notions
Download my Recommended Crochet Items List below, and let me know if you have anything to add to the list!